Marmite and Cheese Muffins

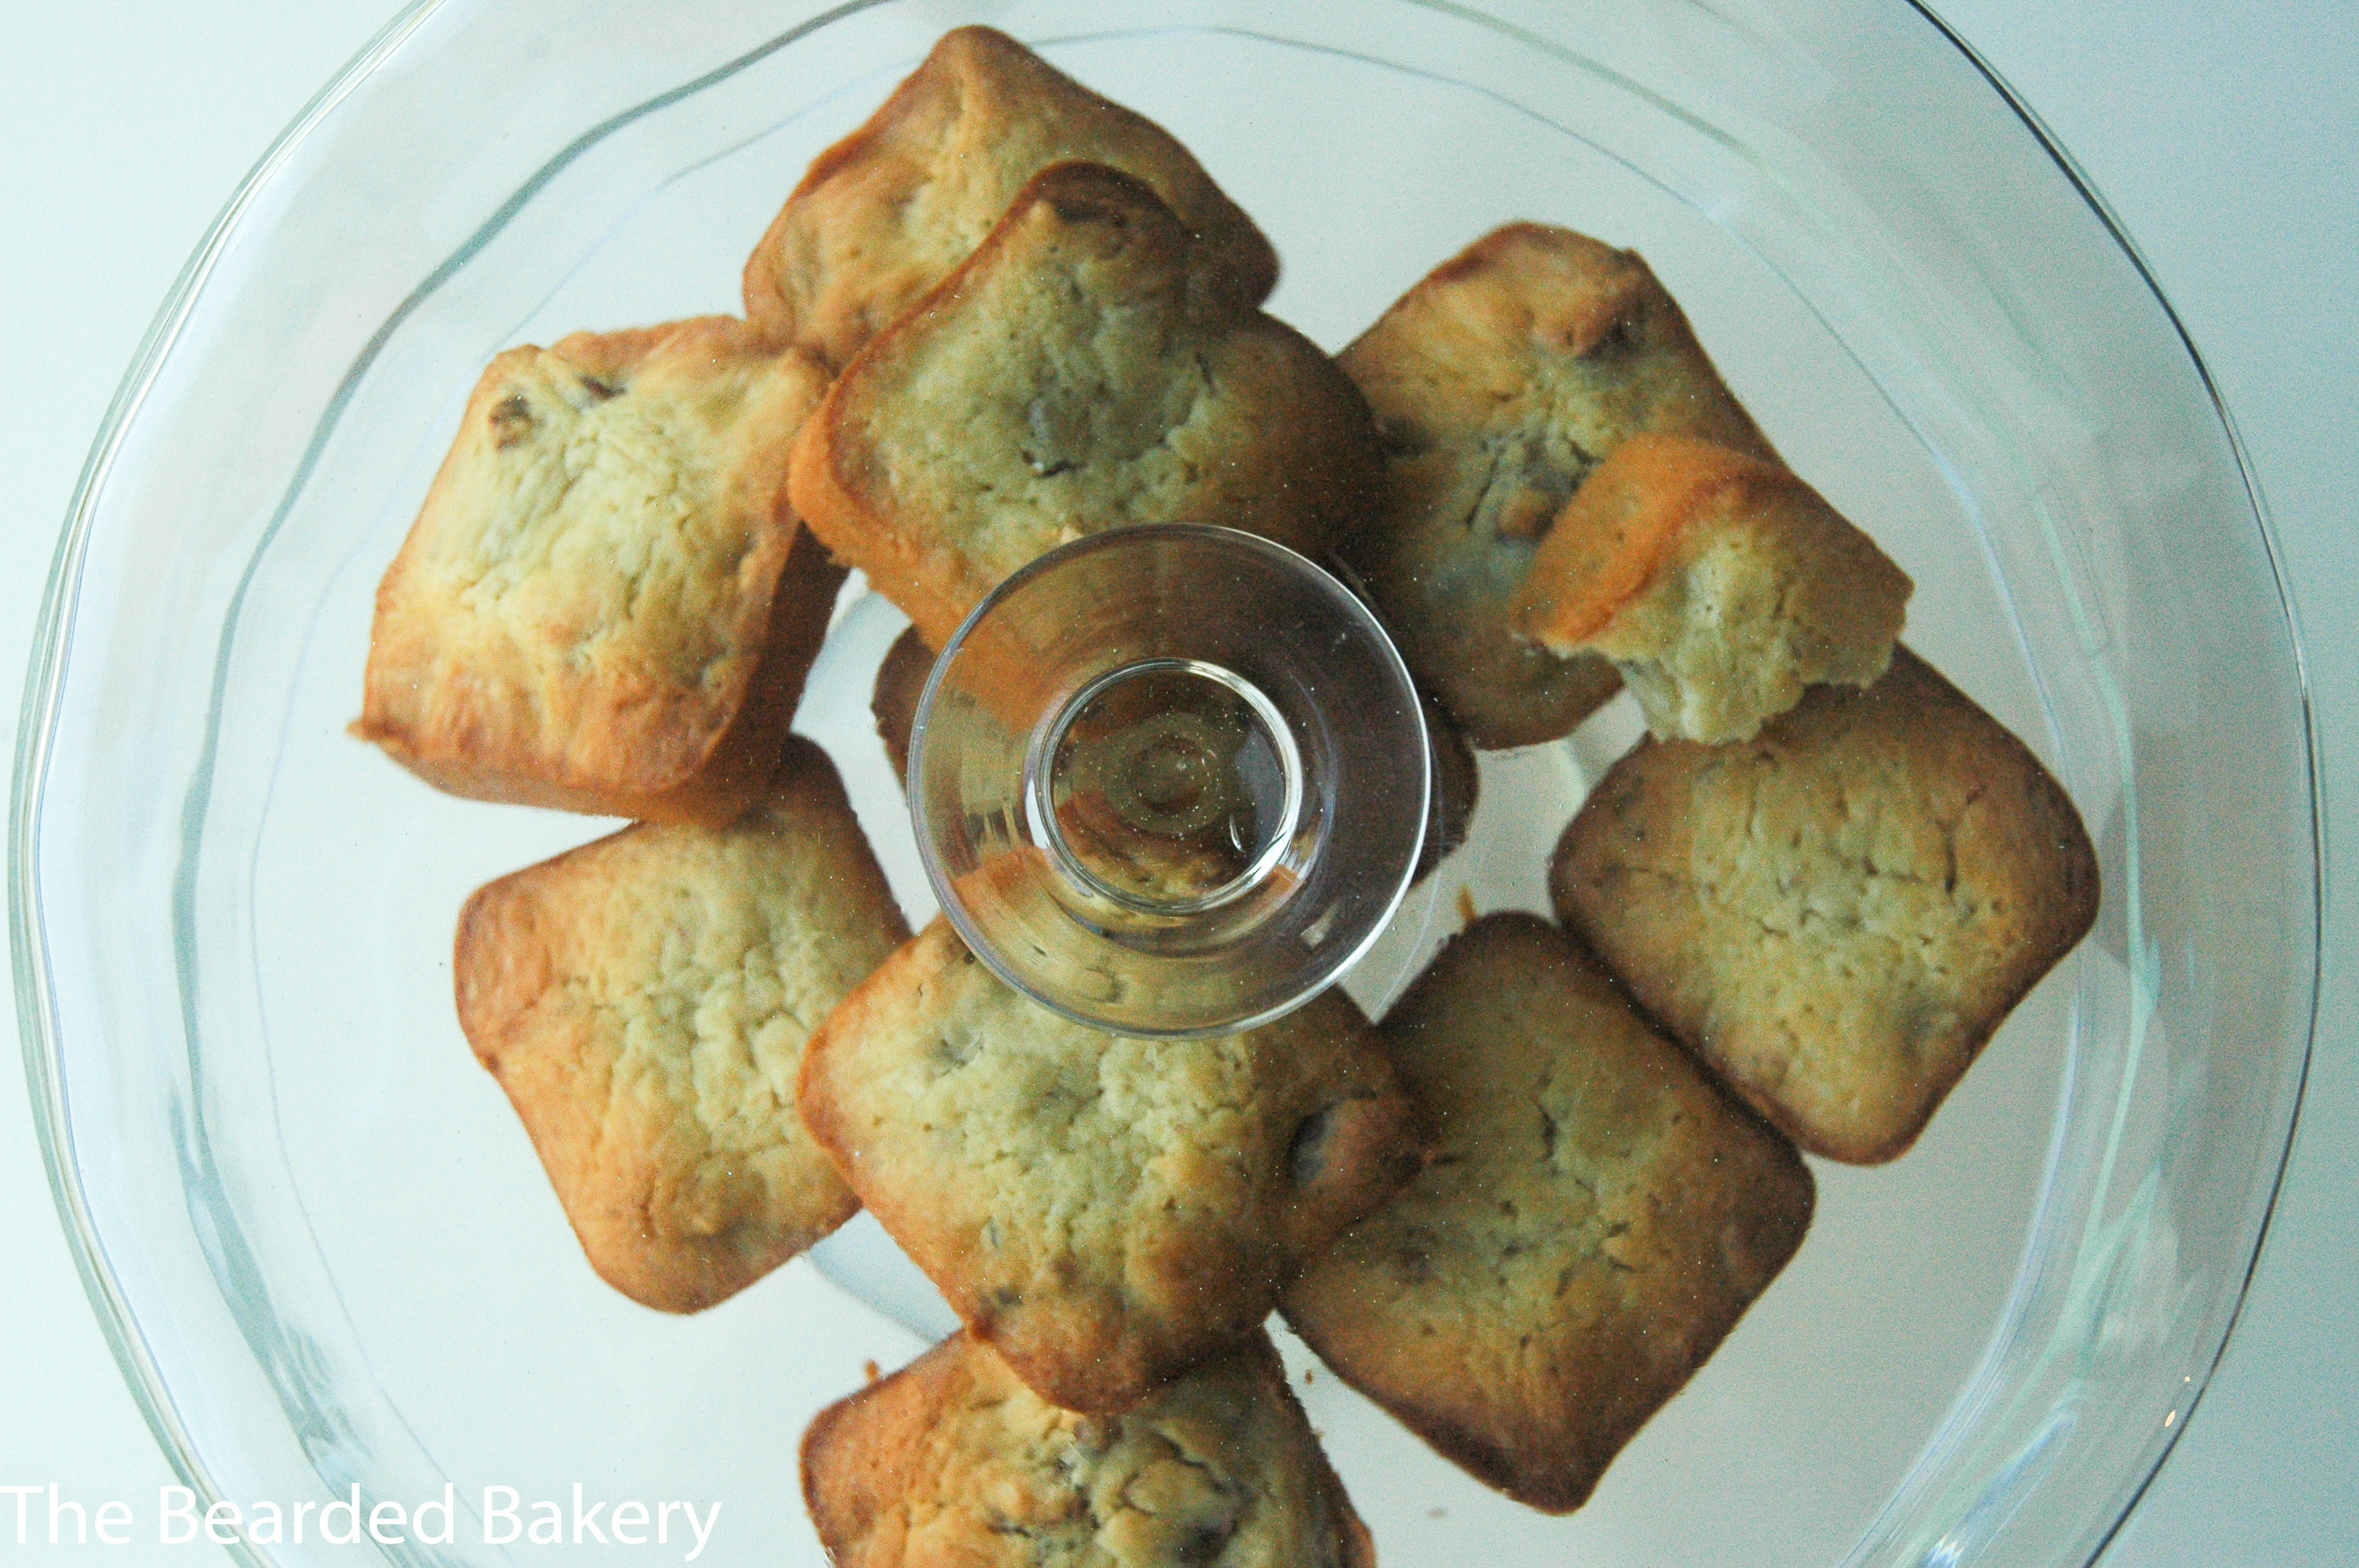
Love it or hate it? Marmite. Personally, I fuckin’ love the stuff. It’s Iron Cupcake Leeds this Sunday and because of Valentine’s day the theme is Love or Hate. I’ve been meaning to enter Iron Cupcake for a while now and I want the first time I do to be fun. So I want to do something a bit different. Hence the marmite. There are a couple of ways of incorporating  the stuff in to bakes and I have practised one before the weekend, just to see whether it’d work for what I’d need it for.  The creation was Marmite and Cheddar muffins, and I then tried frosting them with a couple of different alternatives, unfortunately neither of them really worked all that well.

DSC_0811

The “cupcakes” themselves were wonderful. A little lighter than Scones but had a really great flavour (I’d personally put a little bit more marmite in myself to give more of a tang). As I was intending to frost them I didn’t add any extra cheese or marmite to the top, which I’d recommend you doing.

DSC_0806

Now the frosting, I tried two different kinds. The first was a “savoury cream cheese frosting” which came out way too creamy and just didn’t go with the cake at all. The recipe for that can be found here. The second was a “Cheddar Cheese” frosting, which worked MUCH better, however I couldn’t get it to thicken and it piped wrong. The recipe for that one can be found here.

 DSC_0813

These cakes, while tasty, aren’t quite there for me to be taking to a competition. So instead I’m going to try some chocolate cones with a Marmite Caramel Ganache frosting.

DSC_0814

Marmite and Cheese Muffins
 
Prep time
Cook time
Total time
 
Serves: 12
Ingredients
  • 420gflour
  • 20ml baking powder
  • 200g mature cheddar cheese, coarsely grated
  • 100g butter
  • 30ml Marmite
  • 300ml milk
  • 4 large eggs
Instructions
  1. Preheat oven to 180°C (160°C) and line a muffin tin with cases (or grease it).
  2. Mix the dry ingredients together. The flour, baking powder and cheese.
  3. Melt together the butter and marmite, allow to cool slightly and mix in the milk and eggs. Beating until the eggs are incorporated.
  4. With the mixer on a slow speed gradually pour the liquid mixture in to the flour.
  5. Mix until just combined, it will be lumpy but that’s ok.
  6. Spoon the mixture in to the prepared cases. Sprinkle over some remainder cheese and drizzle some extra marmite.
  7. Bake for 20-25 minutes (slightly less if using cupcake cases).
  8. Remove and allow to cool for a few minutes in the tray before transferring to a wire rack.

Green Tea Cupcakes with Matcha Frosting

It’s January. Therefore everyone is full slap bang in the middle of their “detox”, right? Because obviously, one month of doing vaguely healthier things makes the other 11 months of debauchery and junk food ok (Disclaimer: My lifestyle is awful, I am not judging anyone for trying to be positive). In keeping with this I thought this would be a perfect time to try something from the Hummingbird Bakery book I was given at Christmas. What else says detox like Green Tea? Or Matcha powder (the bloody expensive thing that it is)? Of course, if you mix both of these things with butter, sugar and chocolate they are still healthy, right? Yeah, sure, let’s go with that. Having said that, other than the sugar it’s a fairly small amount of the other ingredients, so these won’t hit the waste quite as much as many of the other things I bake.

DSC_0792

I’d advise planning ahead with these too. You need to give the green tea bags plenty of time in the milk (overnight ideally) so that they transfer enough of the flavour across to the cold milk. The matcha powder brings the majority of the green tea flavour and is a great addition to the frosting. I’ve been recommended using it with white chocolate, so I’ll definitely be doing some white chocolate matcha frosting sometime soon.

 DSC_0781

Notes:

  • This makes a particularly small batch of cupcakes, only 12, but the recipe could be very easily doubled or more.
  • I used more Matcha powder than in this recipe (by accident), if I was doing it again I’d be much more careful. It made the frosting much more bitter. This meant they got much more mixed reviews.

DSC_0789

Grean Tea Cupcakes with Matcha Frosting
 
Prep time
Cook time
Total time
 
Serves: 12
Ingredients
  • 120ml whole milk
  • 3 green tea bags
  • 100g plain flour
  • 20g cocoa powder
  • 140g caster sugar
  • 1½ tsp baking powder
  • a pinch of salt
  • 40g unsalted butter at room temperature
  • 1 egg
  • ¼ tsp vanilla extract
  • For the green tea frosting
  • 250g icing sugar, sifted
  • 80g unsalted butter at room temperature
  • 20g Matcha green tea powder, plus extra to decorate (you can buy this from tea shops and specialist Asian supermarkets).
  • 25ml whole milk
Instructions
  1. Measure out the milk and add the tea bags. Put these in a sealed container in the fridge for several hours in advance (overnight if possible).
  2. Preheat the oven to 170°C (150°C fan) and line a 12 hole cupcake tray with paper cases.
  3. Mix the dry ingredients together and add the softened butter. Using an electric mixer with a paddle attachment beat on a low speed until it has a sandy consistency.
  4. Combine the eggs, milk and vanilla together. Slowly add in half of the mixture to the dry mix. Beat on high until there are no lumps. Turn down to a low speed and slowly poor in the rest of the mix. Continue to mix it until it’s smooth.
  5. Spoon in to the cases to about ⅔ full. Place in the middle of the oven for about 20-25 minutes. They’ll be done when they bounce back when pressed lightly or a skewer inserted in the middle comes out clean. Allow to cool slightly in the tray before moving to a wire rack to cool completely.
  6. For the green tea frosting beat together the sugar, butter and matcha powder until well combined on a medium to low speed. Turn down to a low speed and slowly pour in the milk. Once it is incorporated turn the speed up to high and beat for 5 minutes.
  7. Apply to the cool cupcakes.

DSC_0796

DSC_0784


Pecan Blondies and No Sleep

Insomnia. Or something. Well whatever I have it’s annoying. Really annoying. I got ill on Sunday night, when I went to bed (tired) and got feverish. I only had an hourish sleep. But it’s extended to 3 nights on the trot now. With little sleep, but now just minus the fever. The third night, Tuesday night, I tried a few things in advance to wear me out. I cycled and I baked. Tried to fill my time up a bit. It didn’t work. I ended up with just a couple of hours again. If anyone has any solutions that may help me to sleep, leave them in the comments below. Please!

 DSC_0771

However, as I said, I did end up baking, in an attempt to be active. I tried my hands at one of the recipes from the Hummingbird Bakery book that I was given for Christmas (thanks gran!). I opted for the blondies, partly because I’ve never made any before and partly because I already had everything but the white chocolate and pecans already in. I am now without a brownie, so I used my “bar” tray instead, which meant for slightly reduced cooking time and already portioned off blondies. I’ll leave in the timings for both in the instructions below!

DSC_0755

Pecan Blondies and No Sleep
 
Prep time
Cook time
Total time
 
Serves: 12
Ingredients
  • 150g White Chocolate
  • 125g Unsalted Butter
  • 150 Caster Sugar
  • 2 Eggs
  • 1 ½ teaspoons Vanilla Extract
  • 200g Plain Flour
  • A pinch of Salt
  • 120g Shelled Pecan Nuts, chopped
Instructions
  1. Preheat oven to 170°C(150°C fan assisted).
  2. Place the butter and chocolate in a heatproof bowl over a saucepan of simmering water. Don’t allow the bottom of the bowl to touch the water. Melt these together, stirring occasionally.
  3. Take off the heat. Mix in the sugar, stirring well. At this point the mixture may split but don’t worry.
  4. Add in the vanilla and the eggs, beating well as you do to stop the eggs from scrambling.
  5. Add the remaining ingredients and stir until everything has incorporated well and the nuts are spread throughout the mixture.
  6. Grease the baking tray you are using and add the mixture.
  7. Place in the oven. If using a divided bar tray like mine, bake for approx.. 20 minutes until the edges are golden but the center still soft. If using a tray then bake for 35-40 minutes.
  8. Remove from the oven and allow to cool completely in the tray on a wire rack. Divide up.

DSC_0772

DSC_0768

Brioche Buns

So it’s my first recipe of the new year. And well, I’m branching out a little. There is zero peanut butter for one (SHOCK! HORROR!) and it’s a savoury bake. I do savoury baking a fair bit, but usually it doesn’t make the blog. Simply because it tends to be eaten fresh or donated. I was given a few recipe books for Christmas and wanted to try a few things out. This was inspired by one of them, but not actually from that book. I had a full two weeks off over Christmas and the last Sunday before I returned to work my parents suggested a family meal at my sister’s in York. I taught my mother how to make my Maple and Mustard Pulled Pork last summer while we were on holiday in Scotland and she decided to do that. I thought this was the perfect opportunity to try my hand at Brioche buns. I’ve made plenty of bread, but it’s usually fairly heavy and involved cheese or some form of wholemeal.

 photo 3

 These didn’t provide as much of a challenge as I had expected and came out nearly perfect. Something which I’m pleased about for a first attempt. They were light, glazed appropriately and were the perfect match for the pork. The only snag was that they were already a day old at this point, but they refreshed nicely in the oven.

 DSC_0754

This was also the first run out for my “cups” which I got for Christmas. So if I’m feeling particularly lazy, I may not convert to grams if I’ve used an American recipe (like this time, sorry guys!). I also apologise for the lack of good pictures. Things are a bit up in the air at the moment, so I just winged it a bit. I’ll make them again and re-shoot soon.

photo (3)

photo 2

I’m going to be posting much more savoury things this year, as well as few more “lifestyle” type posts, so sorry in advance if you’re only here for the food. You may get a few more inane rambles as well.

 
Prep time
Cook time
Total time
 
Serves: 8
Ingredients
  • 1 cup warm water
  • 3 tablespoons warm milk
  • 2 teaspoons active dry yeast
  • 2½ tablespoons sugar
  • 2 large eggs
  • 3 cups bread flour
  • ⅓ cup all-purpose flour
  • 1½ teaspoons salt
  • 2½ tablespoons unsalted butter, softened.
Instructions
  1. In a glass cup, combine the warm water, milk, sugar and yeast. Leave this to stand for about 5 minutes until it’s foaming. Beat one of the eggs separately.
  2. Using a stand mixer, or your hands if you don’t have one, mix the butter, flours and salt. Do this until it’s a breadcrumb like texture. If using the mixer this could take several minutes.
  3. Beat in the yeast mixture (making sure you get all the sugar if it hasn’t dissolved) and the egg. Do this on a medium speed for several minutes until a soft dough has formed.
  4. Shape the dough in to a ball, grease the inside of the bowl and return the dough. Cover with a damp cloth and place in a warm place. Leave to rise somewhere warm until it’s doubled in size. This could be anywhere between 1-3 hours. Do this based on size, rather than time.
  5. Line a baking tray with a baking sheet. Divide the in to 8 equal portions. Use a scale to make sure they are equal.
  6. To shape them , roll into a ball and flatten gently against a lightly floured surface. Make a cage shape with your hand against the surface with the dough inside. Move around in a circular motion until the buns have shaped well.
  7. Arrange on the tray, relatively well spaced. Allow to rise for another 1-2 hours in a warm place.
  8. While they are rising preheat the oven to 205°C(185°C Fan).
  9. Make the egg wash by beating the egg and adding a splash of water. Using a pastry brush, brush a small amount over the top of each bun.
  10. Add another tray underneath the oven shelf with a small amount of water in it. This will create steam to help the buns keep moist. Place the baking tray on the shelf and bake for 15-20 minutes.

DSC_0753


Christmas 2013

Well hello, and a Happy New Year to everyone. This is my first post of 2014. I hope everyone had a super awesome Christmas and New Year. Mine was a mixed bag all in all. Christmas itself was great, we went to spend it on Mull at my parent’s cottage, which is available for rental now coughHINTcough.  It was great to get to the middle of nowhere and also to get some walking in. Also baked several times while I was there, as well as helping cook.

_DSC3471

DSC_0595

DSC_0642

DSC_0670

We were very fortunate however, as the storm that went through the UK hit that area fairly badly. My mother and sister only just managed to get to the island on the last ferry that ran before Christmas.

I baked a Cheese, onion and mustard loaf.

IMG_3583

A cranberry and orange loaf.

 IMG_3589

And a chocolate Loaf, which was a bit of a disaster (the tin I used was too small) but still tasted pretty awesome.

And guess what?! My mum got me this amazing “Bearded Bakery” apron.

 tumblr_mydl1kJ48h1qk2stno1_500

Unfortunately, what made the period less good was breaking up with my Girlfriend, which happened the night I got back, which got me down. I won’t go in to it, because you don’t want to hear it; you’re here for food, not my life story, afterall.

If you want any recipes for the above things, just drop me an email or leave a comment. I’m sure I’ll get around to them eventually! This post actually started off as being about Brioche Buns, which were my first bake of the year. But I’ll just have to do that one tomorrow!


OH YEAH. I almost forgot. I also made some Reindeer pretzl cookies for a party just before Christmas.

IMG_3500

IMG_3497


Hope everyone has a great year, all the  best.

(ps, This blog is 1 soon. How exciting?)