America!

Hello everyone, just a heads up that there likely won’t be any updates for a couple of weeks as I’m going to America (Orlando, Tampa, Gainesville and New York City). I’m going to Fest 12, the halloween horror nights and generally being a tourist. It does mean however, that I’ll be eating a whole lot of food, that I’ll likely blog about. Plus I’ll be bringing back some American treats to bake in to things. Nutter Butter cookies anyone? I’ll see you all when I get back. Happy Baking!

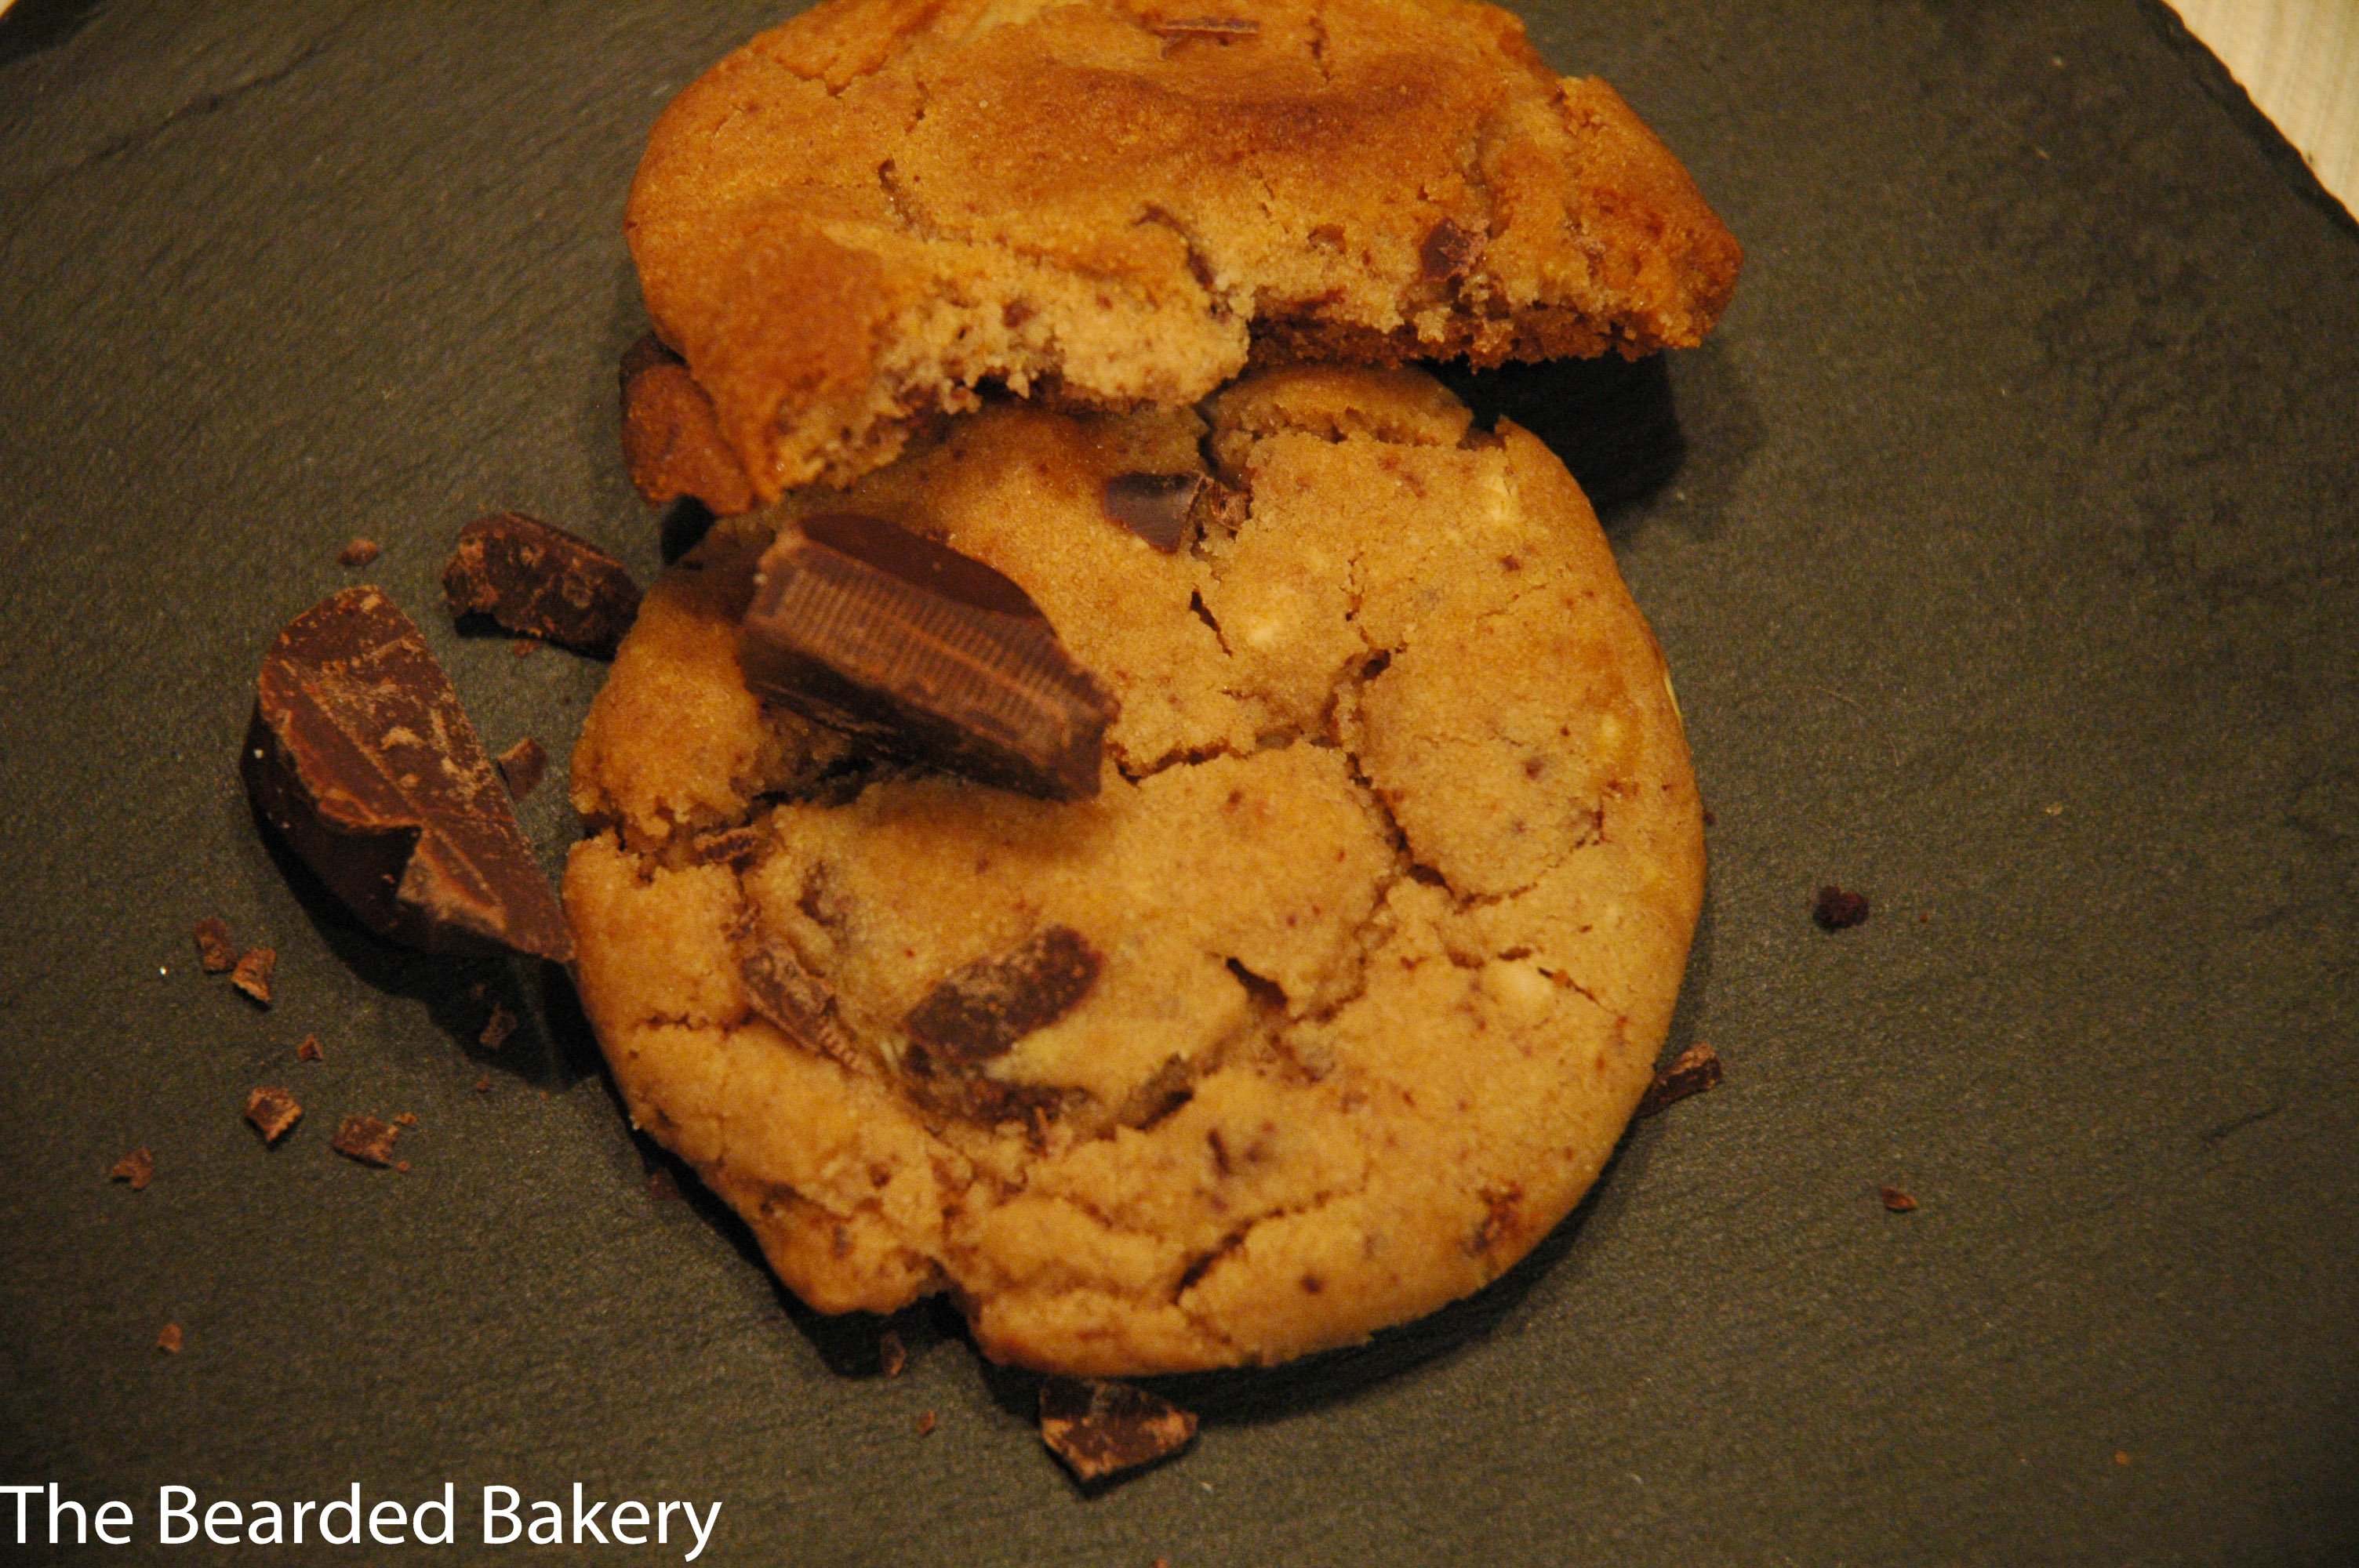
Chocolate Chip Cookies

It’s national baking week. That means everyone should bake. GO. GO TO OUR OVENS. Take out your food mixers, your wooden spoons and your scales. Weigh the nation down with sugar, butter, flour and eggs. It doesn’t have to be anything hard. I decided to keep things simple this week, so that any beginners could join in. That and my card was cancelled (fraud on my account, apparently) so I had to make do with the ingredients I already had and anything I could afford with a couple of quid.

DSC_0580

I went for double choc chip cookies. Simple, quick and delicious. You’ll probably even have half the ingredients in already. The key with this is to mix it until it’s combined. Also not to press the balls of dough down like you usually would, as these’ll spread but stay chunky.

Not only this, but to celebrate National Baking week, guess who got interviewed? Topps Tiles (you know who they are, you’ve seen the vans) approached me and asked whether I’d be interested in taking part in a campaign they were running about male bakers. It was a great opportunity and I snapped their hands off. The interview can be seen here (sorry, it’s not mobile friendly).

I’d desperately wanted to do this at the start of the week, but my internet at home hasn’t been working for the last couple of weeks. Not cool. Hopefully Sky will actually be helpful at some point (they’ve failed to be so far). So I’m actually posting this from my girlfriend’s house.

 DSC_0578

5.0 from 1 reviews
Chocolate Chip Cookies
 
Prep time
Cook time
Total time
 
Serves: 12-15
Ingredients
  • 100g of caster sugar
  • 100g of butter
  • 1 tbsp of golden syrup
  • 1 tsp vanilla extract
  • 150g of self raising flour
  • 175-200g Mixed chocolate (I used dark and white), chopped.
Instructions
  1. Preheat your oven to 180°C(160°C fan). Line a baking tray with greaseproof paper.
  2. Soften the butter using your mixer, beating it until it’s well creamed.
  3. Cream together the butter and the sugar until light and fluffy (this can take several minutes).
  4. Mix in the golden syrup and the vanilla.
  5. Mix in half of the flour with the chocolate. Once this has combined mix in the rest of the flour.
  6. Keep on mixing until it starts to combine. Eventually I had to use my hands to form it into a proper dough.
  7. Separate the dough out into sizable balls. Don’t press them down. This should make 12-15 individual cookies.
  8. Place in the oven for 12-15 minutes.
  9. Remove from the oven and leave to cool on the tray for a few minutes, before transferring to a wire rack.

DSC_0577

Congratulations!

So this weekend my sister and her boyfriend got engaged. I just wanted to wish them both many congratulations. He texted me on Friday night saying he was going to do it, and if I’m being honest, I didn’t 100% believe him. Apparently he very nearly put his foot in it (a number of times) with letting the odd thing slip. On Saturday when I asked him how and when, he even sent his reply to my sister. Whoops.

But anyway, he did it and she said yes. Here’s the happy couple:

1383331_10100903121780508_1426993150_n


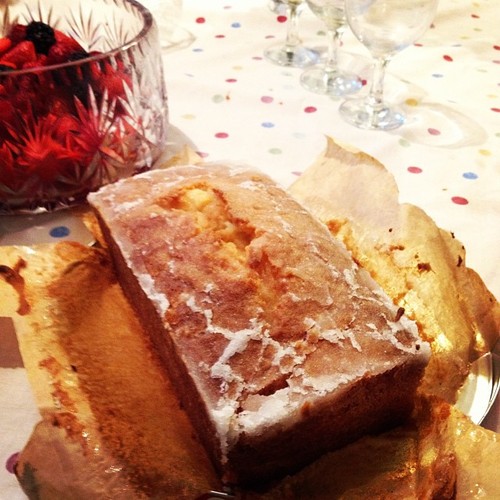
Don’t worry, there is food coming up. I had already planned to see them on the Sunday for a family meal. I was taking along a lemon drizzle loaf, which while it went down well, probably wasn’t as fancy as the occasion deserved. But nevermind. Congratulations again, and it’s an excuse to get a new suit.

tumblr_mum6crYHqv1qk2stno1_500


Unfortunately this is only picture I got of the cake, and it’s a bog standard instagram shot. I’ll be getting some more stuff up this week to celebrate National Baking Week though, so keep your eye out!

Chocolate Brownie Cupcakes

The nights are drawing in. The last two days have been wall to wall dank and rain. It means it’s the perfect time of year to start making comfort food. Don’t get me wrong, I bloody love Autumn, when it’s crisp & clear. The leaves changing are great and you can’t beat wrapping up warm (speaking of which, I really need to try and get a new winter coat).  But it’s days like today when you just have to batten down the hatches, make yourself a brew and eat something hearty.

DSC_0537

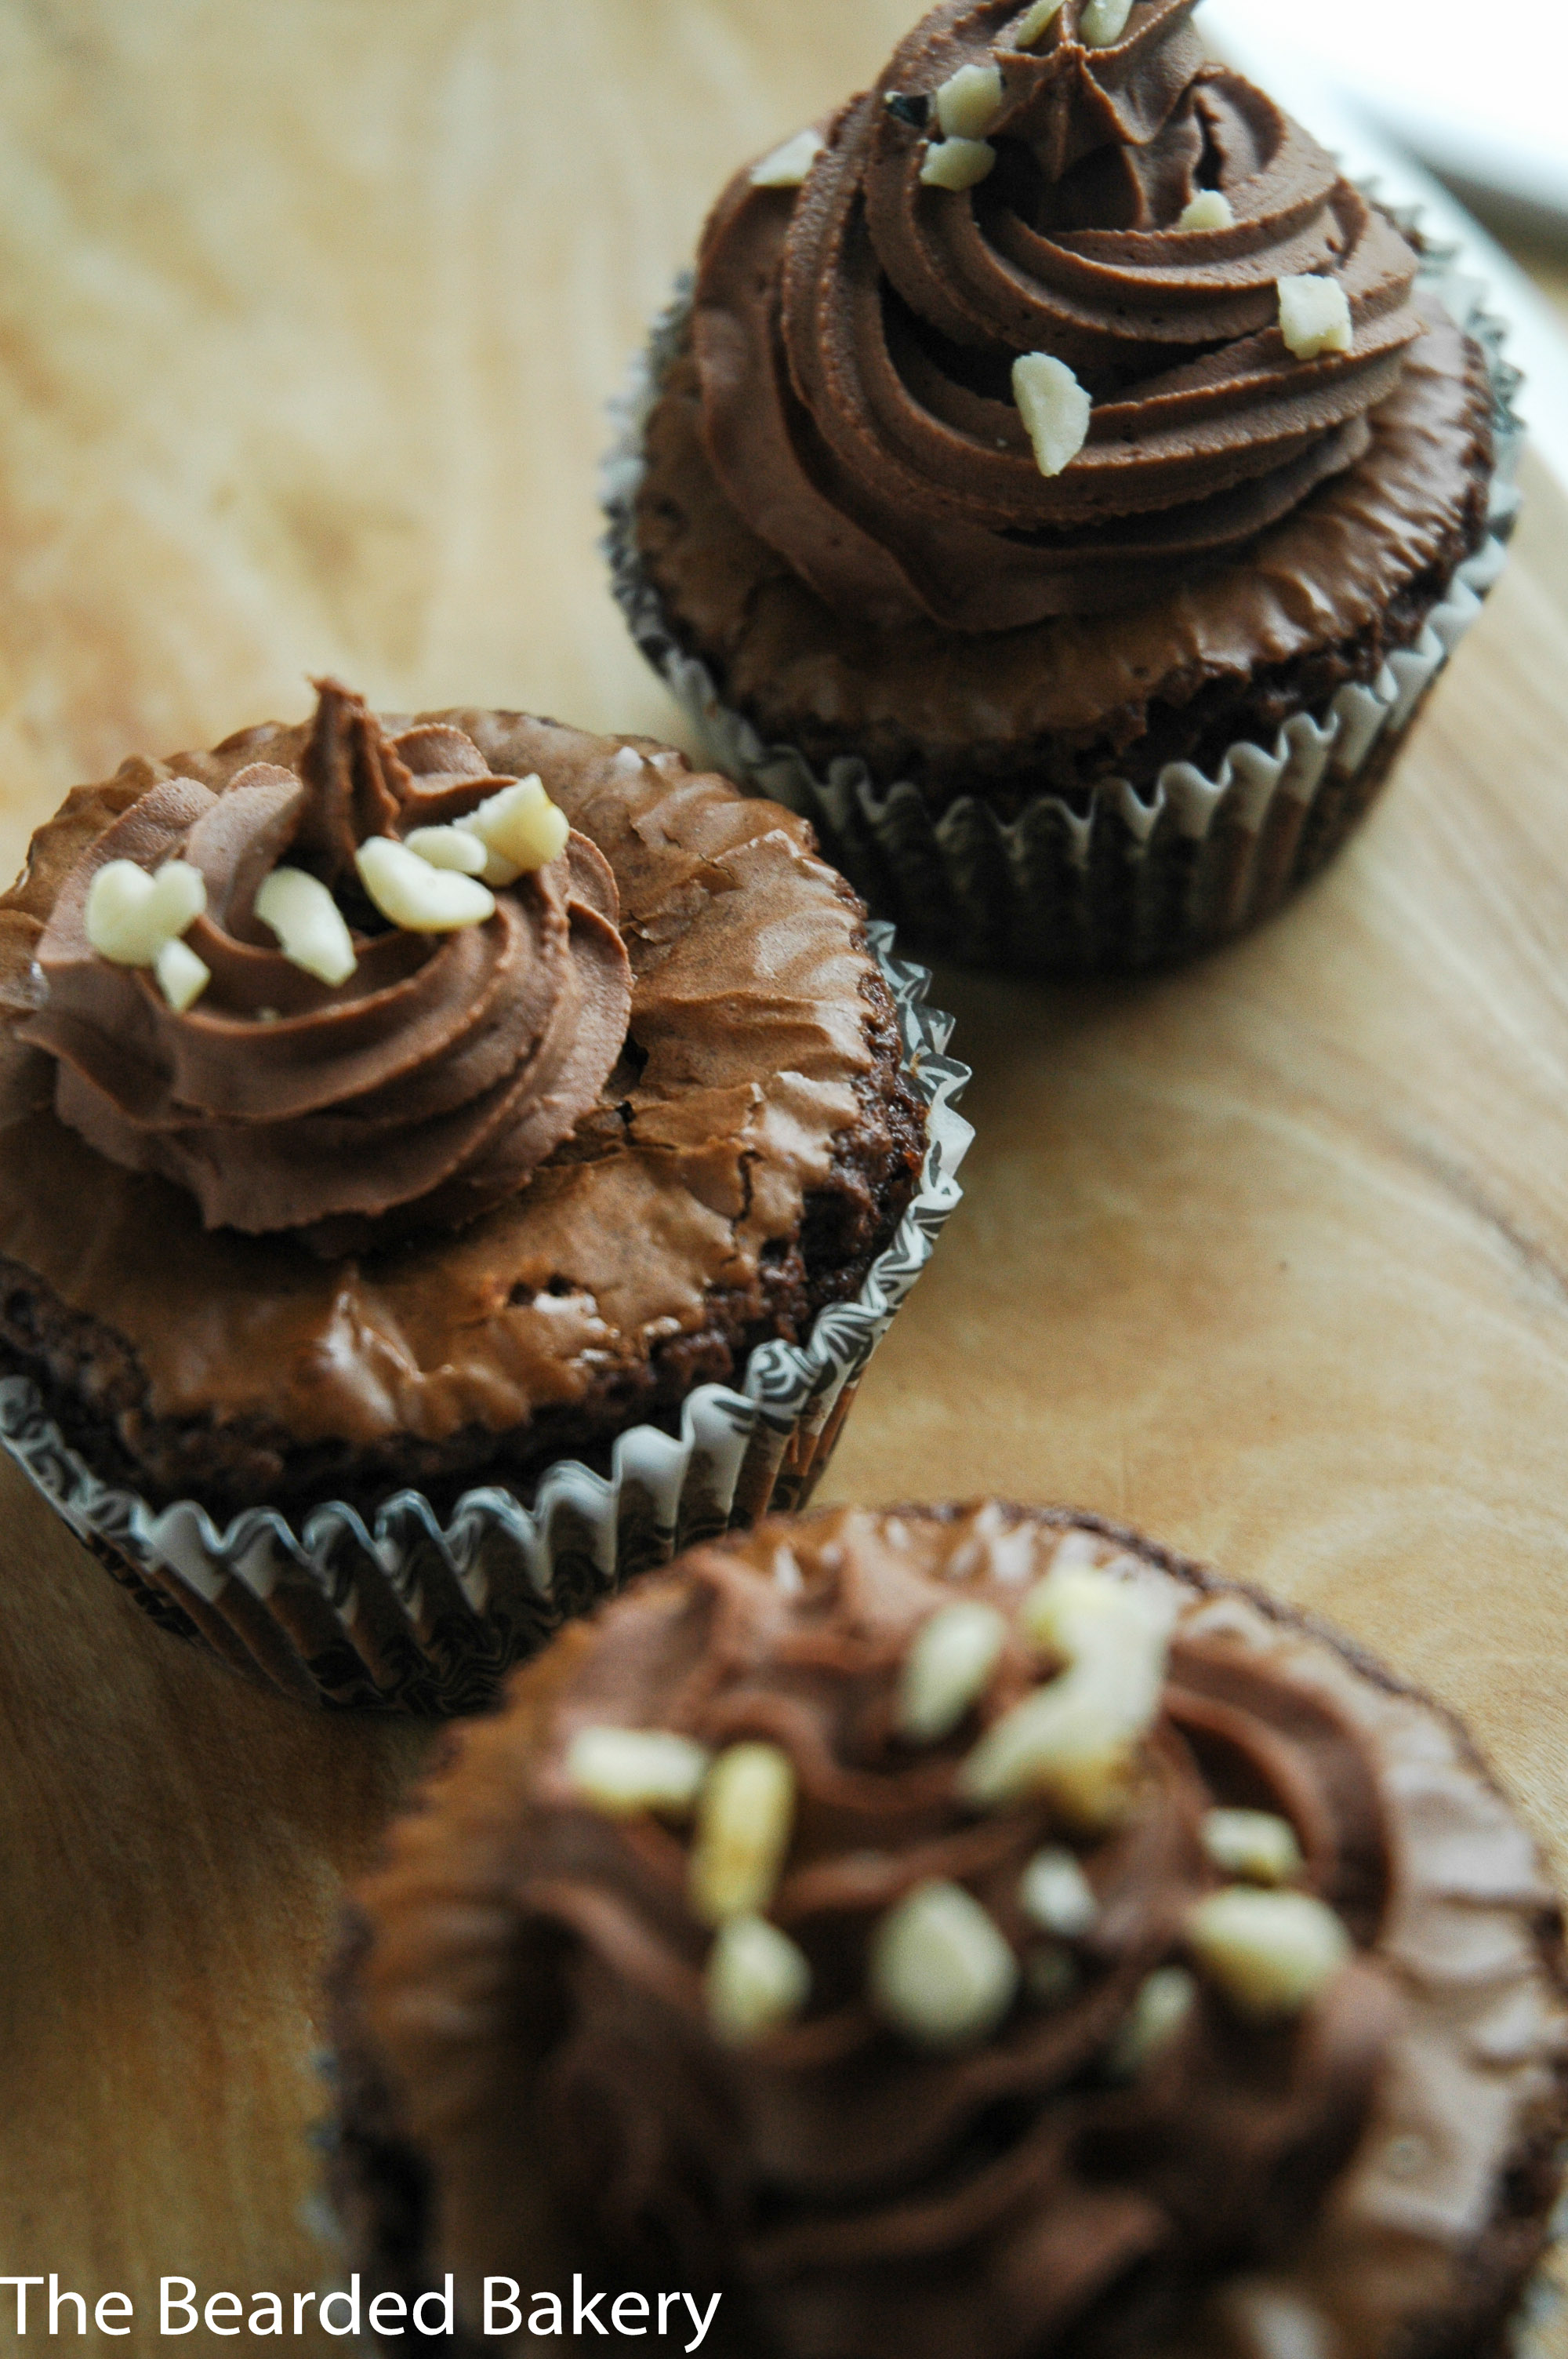
Which leads me on to brownies. I love brownies. They’re gooey, they’re sticky and rich. But (unless you’re lucky enough to have a brownie pan like I do) they tend to come in a block. How about brownie cupcakes? Small portions of heaven with a gooey center, crisp edge and cracked top? Perfect to go with your coffee.

DSC_0539

Chocolate Brownie Cupcakes
 
Prep time
Cook time
Total time
 
Serves: 12
Ingredients
  • 100g dark chocolate (I used Bournville)
  • 100g (slightly salted) butter
  • 2 medium free range eggs
  • 75g caster sugar
  • 50g light brown muscovado sugar
  • 120g plain flour
  • 20g cocoa
  • 1 teasp baking powder
  • A few drops of vanilla essence
  • Handful of chopped nuts
  • 75 grams milk chocolate, chopped.
  • For the frosting:
  • 110g butter
  • 90g baking chocolate
  • 425g icing sugar
  • ½ teaspoon vanilla extract
  • 175ml milk
Instructions
  1. Melt the butter and the chocolate together. Either use a microwave or place a bowl over boiling water. When melted allow it to cool.
  2. Preheat the oven to 180°C (160°C fan).
  3. While it is cooling, combine the eggs and both the sugars. Whisk until the mixture is considerably lighter in colour. I used my electric mixer for this and it took several minutes.
  4. Measure out the dry ingredients.
  5. Combine the egg/sugar mix with the melted chocolate mixture.
  6. Fold the dry ingredients into the wet ones. Do this gradually, through a sieve.
  7. Fold in the nuts and the chocolate.
  8. Divide up the mixture evenly in the cupcake cases in the tray.
  9. Bake for 20 minutes, the top should be glazed and shiny.
  10. Remove, allow to cool for a few minutes in the tray before transferring to a wire rack.
  11. Once they have cooled, prepare the icing. Melt the chocolate and allow to cool.
  12. Beat the butter until soft. Add in the sugar and vanilla essence.
  13. Continue to beat. Scraping down the sides when needed.
  14. Pour in the melted chocolate.
  15. Add in the milk a little at a time. Beat until it’s thicker.

DSC_0535