Nutella Filled Cinnamon Sugar Muffins

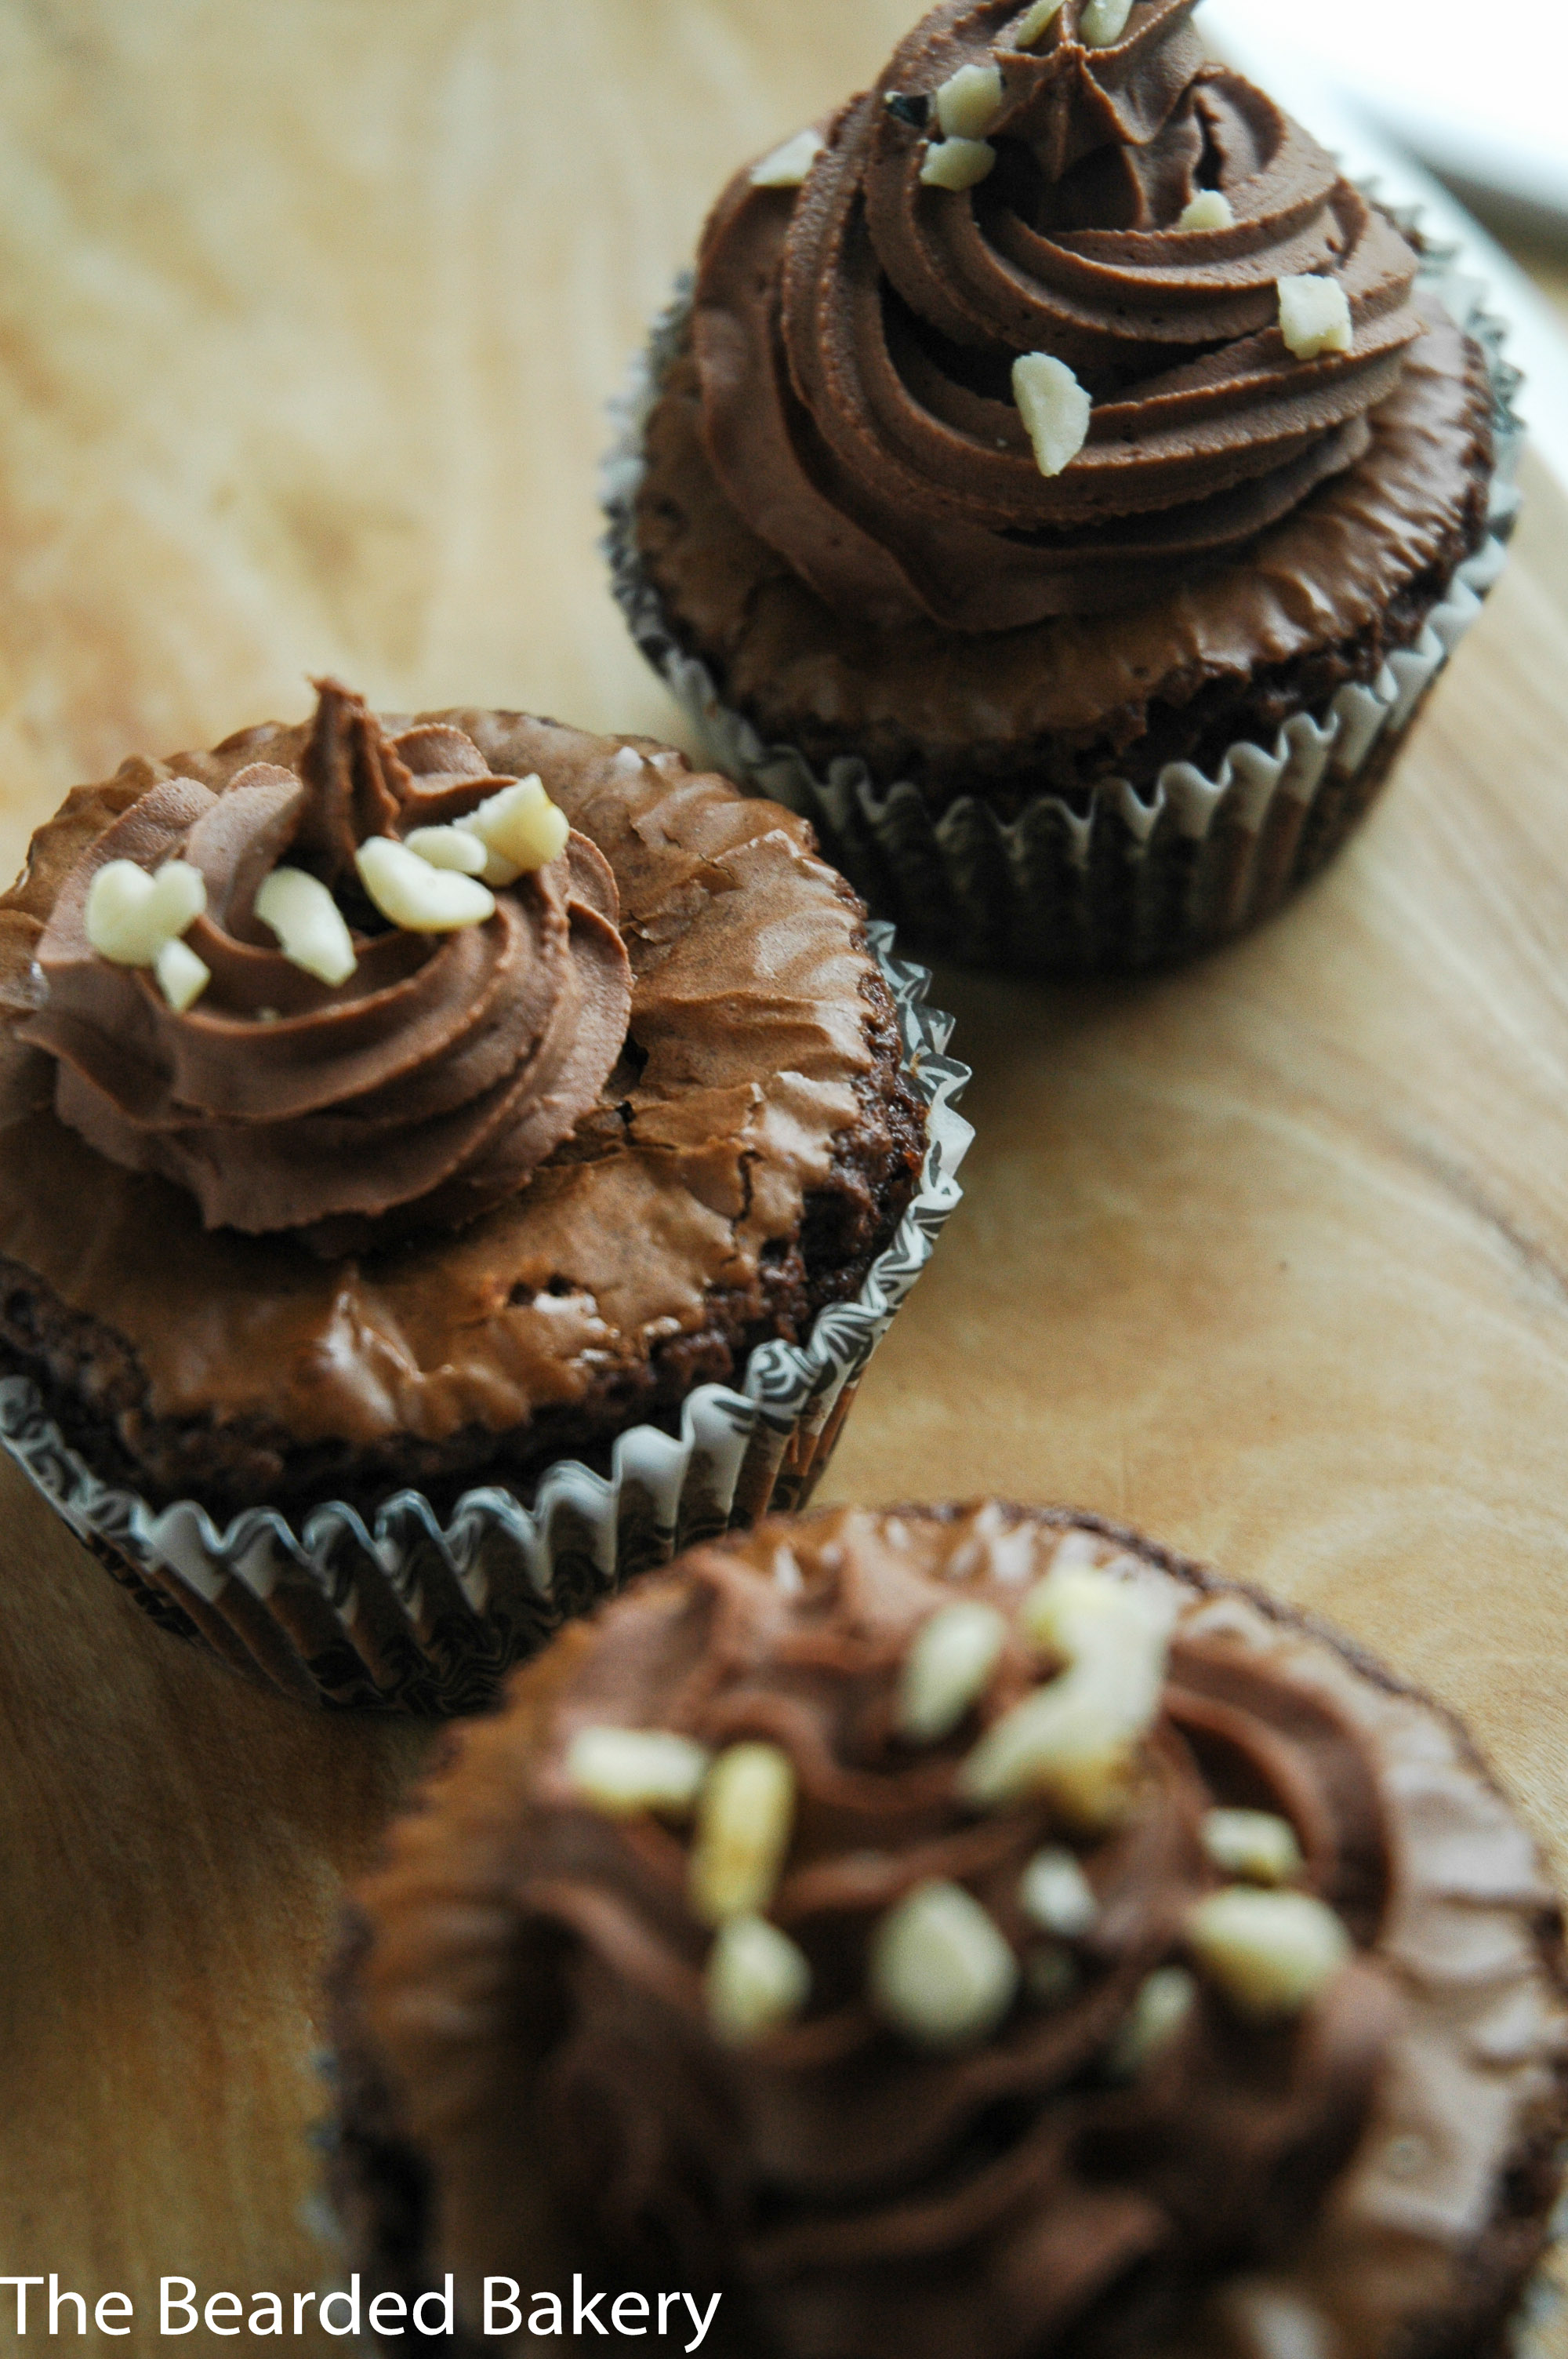
Christmas is in 9 days. I repeat, Christmas is in 9 days. Where the hell has the time gone? I am running out! With a trip to Scotland booked in from December 21st to December 27th, I am very limited with the time I have left, to shop, bake, see the Hobbit and generally exist along the way. However, it’s time for my second Festive Baking recipe. And you guessed it, it involves cinnamon. Although what you may not have  expected was Nutella. And what you may also not have expected, with it being festive, is that they are muffins. Cinnamon topped and Nutella stuffed Muffins, yum. What makes these different as well is that they use a slightly different flour to the usual plain white. I used a plain wholemeal, which made them slightly heavier but also works great on a cold night and compliments the Nutella and Cinnamon really well.

 DSC_0583

The recipe only makes a few, 9 to be exact, but can be very easily doubled (and will be later this week when I am baking for a party). Speaking of the party, I’m also baking a couple of my Cranberry and Orange loaves, as well as some Reindeer pretzel cookies! It is the day I finish work for Christmas, so it’s safe to say that I’ll undoubtedly be a little worse for wear before it’s done. I’m also starting to plan in bakes for when I’m up at my parent’s cottage on Mull next week.

DSC_0584

DSC_0586

Nutella Filled Cinnamon Sugar Muffins
 
Prep time
Cook time
Total time
 
Serves: 9
Ingredients
  • 5 Tablespoons or 75g unsalted butter, softened to room temperature
  • 100g granulated sugar
  • 1 large egg
  • 1 teaspoon vanilla extract
  • 120ml milk
  • 190g plain wholemeal flour
  • 1 and ½ teaspoons baking powder
  • ½ teaspoon ground cinnamon
  • ¼ teaspoon ground nutmeg
  • ½ teaspoon salt
  • 8 teaspoons Nutella
  • Cinnamon-Sugar Topping
  • 50g granulated sugar
  • 2 teaspoons cinnamon
  • 45g unsalted butter
Instructions
  1. Preheat the oven to 220°C(200°C fan) and grease a muffin tin (I used butter but a spray will work just as well).
  2. Cream together the sugar and the butter, on a medium speed.
  3. Mix in the egg, beating well, before mixing in the vanilla and the milk.
  4. Gently mix in the flour, baking powder, cinnamon, nutmeg and salt. When mixing these together be careful not to over-mix them. Do it until only just combined to avoid a heavy mixture.
  5. Divide up the batter into the muffin tins. Do this by putting one heaped tablespoon in to each hole. On top of each of these, place a dollop of Nutella. Cover with the remaining batter.
  6. Bake at 220°C for 5 minutes, then reduce the temperature to 175°C(155°C fan) and bake for a further 13-17 minutes
  7. Allow the muffins to cool for about 5 minutes.
  8. While they are cooling, mix together the sugar and cinnamon. Melt the butter (either in a microwave or a pan).
  9. Take a muffin, dip the top in to the butter and then dip it in to the sugar mix to top it.
  10. Place upright on a cooling rack until they are cooled properly.

DSC_0587

Chocolate Brownie Cupcakes

The nights are drawing in. The last two days have been wall to wall dank and rain. It means it’s the perfect time of year to start making comfort food. Don’t get me wrong, I bloody love Autumn, when it’s crisp & clear. The leaves changing are great and you can’t beat wrapping up warm (speaking of which, I really need to try and get a new winter coat).  But it’s days like today when you just have to batten down the hatches, make yourself a brew and eat something hearty.

DSC_0537

Which leads me on to brownies. I love brownies. They’re gooey, they’re sticky and rich. But (unless you’re lucky enough to have a brownie pan like I do) they tend to come in a block. How about brownie cupcakes? Small portions of heaven with a gooey center, crisp edge and cracked top? Perfect to go with your coffee.

DSC_0539

Chocolate Brownie Cupcakes
 
Prep time
Cook time
Total time
 
Serves: 12
Ingredients
  • 100g dark chocolate (I used Bournville)
  • 100g (slightly salted) butter
  • 2 medium free range eggs
  • 75g caster sugar
  • 50g light brown muscovado sugar
  • 120g plain flour
  • 20g cocoa
  • 1 teasp baking powder
  • A few drops of vanilla essence
  • Handful of chopped nuts
  • 75 grams milk chocolate, chopped.
  • For the frosting:
  • 110g butter
  • 90g baking chocolate
  • 425g icing sugar
  • ½ teaspoon vanilla extract
  • 175ml milk
Instructions
  1. Melt the butter and the chocolate together. Either use a microwave or place a bowl over boiling water. When melted allow it to cool.
  2. Preheat the oven to 180°C (160°C fan).
  3. While it is cooling, combine the eggs and both the sugars. Whisk until the mixture is considerably lighter in colour. I used my electric mixer for this and it took several minutes.
  4. Measure out the dry ingredients.
  5. Combine the egg/sugar mix with the melted chocolate mixture.
  6. Fold the dry ingredients into the wet ones. Do this gradually, through a sieve.
  7. Fold in the nuts and the chocolate.
  8. Divide up the mixture evenly in the cupcake cases in the tray.
  9. Bake for 20 minutes, the top should be glazed and shiny.
  10. Remove, allow to cool for a few minutes in the tray before transferring to a wire rack.
  11. Once they have cooled, prepare the icing. Melt the chocolate and allow to cool.
  12. Beat the butter until soft. Add in the sugar and vanilla essence.
  13. Continue to beat. Scraping down the sides when needed.
  14. Pour in the melted chocolate.
  15. Add in the milk a little at a time. Beat until it’s thicker.

DSC_0535

Lemon Curd Cupcakes with Lemon Frosting

What’s this? No updates for weeks and then two in the space of a few days? I’m flat out spoiling you all. Especially as these are my addition to last week’s National Cupcake Week celebrations. They were also a chance for me to test out the new slate cake stand that I got a couple of weeks ago. I obviously needed one for all those times I present my bakes in public (oh… wait). Having said that however I’m thinking about getting involved in next month’s Iron Cupcake Leeds event (the theme is death by chocolate and I’ve got a few ideas nestled in the back of my mind).

Anyway, enough of that waffle. I was trying to decide what to make last week and had a couple of thoughts when Kirsty piped up and asked for something lemony. It wasn’t long since I’d made my Mini Lime Drizzle Loaves so I decided to opt for something away from the standard drizzle. A simple lemon cupcake just felt a bit too plain so why not put some Lemon Curd in the middle? It adds that extra dimension to something already refreshing and full of flavour. Plus, for those not expecting it it’s a wonderful surprise to find a gooey filling.

DSC_0516

This was also a chance for me to practise my frosting, which, if I’m being honest is not one of my stronger points (presentation-wise that is, it always tastes pretty damn good). The cakes use a simple recipe similar to that you’d use for a lemon drizzle loaf.

DSC_0509

Lemon Curd Cupcakes with Lemon Frosting
 
Prep time
Cook time
Total time
 
Serves: 24 Cakes
Ingredients
  • For the cupcakes:
  • 320g caster sugar
  • 2 Large Free Range eggs
  • 250ml semi skimmed milk
  • 1 tsp vanilla
  • 200g butter, melted
  • 1½ tsp baking powder
  • 350g plain flour
  • zest of 2 lemons
  • For the filling:
  • 1 Jar Lemon Curd
  • For the Frosting:
  • 500g icing sugar
  • 120g unsalted butter
  • 30ml fresh lemon juice
  • 1 teaspoon lemon zest
  • 2 tablespoons milk (if you want thicker icing, use cream)
Instructions
  1. Preheat the oven to 170°C(150°C fan)
  2. Cream the sugar, eggs and lemon zest together, beating well to get the sugar properly combined.
  3. Mix together the flour and baking powder. Slowly add the mixture to the wet ingredients with the mixer on a low speed. Slowly increasing the speed.
  4. Pour in the milk and Vanilla. While this is mixing over a low-mid speed melt the butter.
  5. Add the butter and mix until well combined. Scrape around the sides if you need.
  6. Line a cupcake tray and fill each case about ¾ full.
  7. Put a good dollop of lemon curd in the center of each filled case. Judge this by eye and on your own preference of filling.
  8. Bake for between 15-20 minutes.
  9. Remove from the oven, leaving in the tray for a few minutes before transferring to a wire rack to cool completely.
  10. Once the cakes have cooled, start preparing the icing. Beat the butter until it’s soft.
  11. Add in the icing sugar and beat until it’s well combined.
  12. Add in the juice and zest beating well again. Lastly add in the milk (or cream). Beat until well combined and it forms stiff peaks.
  13. Pipe the frosting onto the cakes in any pattern you choose.

DSC_0512

DSC_0507


Nutella Stuffed Chocolate Cupcakes with Peanut Butter Frosting

What can I say? Life has well and truly gotten on top of me. It’s been several weeks since my last update, but that does not mean I haven’t been baking. I’ve just not had the time to spend to sit down and put everything together. My time has been otherwise engaged with a young lady, and I couldn’t be happier to have her taking up my time. She gets first dibs on trying everything that I bake these days though, and everything is coming up with the Kirsty seal of approval.

But enough of that, time to move on to the reason you people are here <s>my beard</s> food! First up of a run of updates will be Nutella stuffed chocolate cupcakes with Peanut Butter Cream Cheese frosting. These were a bit of an experiment to see if I could combine a couple of recipes that I’ve used in the past. They ended up being a gooey mess. One is most certainly enough but I wouldn’t let that put you off. The cupcake recipe is one I’ve used before and is here. They make very moist cupcakes which make the gooey center fairly stodgy. I’d save these for a dessert.

The key with the frosting would be to get a more expensive peanut butter, this means it’ll be less oily and will make a much better frosting. Alas, I hadn’t thought this through so ended up with a shiny and hard to use (if still tasty) frosting.

DSC_0278


Nutella Stuffed Chocolate Cupcakes with Peanut Butter Frosting
 
Prep time
Cook time
Total time
 
Ingredients
  • For the cupcakes:
  • 130g all-purpose flour
  • 200g granulated sugar
  • 65g cocoa powder
  • 1 teaspoon baking powder
  • ½ teaspoon baking soda
  • ½ teaspoon salt
  • 120 ml milk
  • 60 ml vegetable oil
  • 1 egg
  • ½ teaspoon vanilla
  • 120 boiling water
  • For the filling:
  • 170g Cream Cheese
  • 170g Nutella
  • For the frosting:
  • 200g Cream Cheese
  • 120g Peanut Butter (better quality the better)
  • 700g Icing Sugar
  • 2 Tbsp Milk or Cream
Instructions
  1. Preheat the oven to 150°C and line your cake tray with cases.
  2. Mix together the flour, sugar, cocoa powder, baking powder, baking soda and salt in a large bowl. Whisk until it’s well mixed.
  3. Combine the Nutella and Cream Cheese separately.
  4. Add the “wet” ingredients, apart from the boiling water, and mix on a medium speed until well combined.
  5. Reduce the speed and very carefully add the boiling water. Slowly up the speed until it’s on high and allow to mix for around 1 minute. This will get a good amount of air into the mix.
  6. Distribute the batter evenly into the cases. Fill to around ¾ of the case. Depending on the size of the case you’ll get between 12 and 18 cakes, but always fill to about ¾. Drop a dollop of the nutella mix into the middle of each one.
  7. Bake for 12-25 minutes. The cakes will be done when a tooth pick inserted into the center comes out clean.
  8. Remove from the oven and allow to cool slightly in the tray before transferring to a rack.
  9. While they are cooling, prepare the frosting.
  10. Beat the cream cheese until soft. Mix in the Peanut butter. Beat until well combined.
  11. Mix in the Icing sugar and finally the milk or cream. Beat until it makes a stiff frosting.
  12. Pipe onto the cakes.

DSC_0268

DSC_0271


Blueberry Muffins

With summer well and truly here I felt that continuing the summer baking just made sense. Blueberry muffins are simple, and taste delicious. They are a staple of almost any coffee shop, be it a Starbucks or one of the better quality independent places (we’ve a few great ones kicking about in Leeds, like Mrs Athas and Laynes Espresso). Filling a muffin with fruit, especially berries, adds that extra burst of flavour. It gives me the chance to say “it’s got fruit in it, it’s healthy”.

The key with this recipe is to leave it to rest for as long as you can allow yourself. (As  I often bake on a weeknight I usually don’t wait as long as I usually should). If you can allow it, leave it overnight and the cakes will taste just that bit better. This is a recipe for a relatively small batch, I didn’t want too many as I was making biscuits later in the night for my trip up to Scotland.

 blueberrymuffins

This is also the first time that I’ve managed to get my DSLR involved with the photos. The charger simply disappeared a while ago and I had to order a new one. Part of this blog is going to be me teaching myself what I’m actually doing with it, so I’m hoping the pictures get better as I go along.

Blueberry Muffins
 
Ingredients
  • 110g plain flour
  • 110g butter
  • 65g caster sugar
  • 2 free-range eggs
  • 1½ tsp baking powder
  • 125g blueberries, or equivalent in frozen blueberries
  • pinch nutmeg (optional)
Instructions
  1. Mix together the flour and baking powder. Set aside.
  2. Cream together the butter and the sugar until creamy, this can take several minutes. Beat in the eggs, one at a time, beating well after each addition.
  3. Mix in the flour, beating until smooth.
  4. Leave the batter covered in the fridge overnight, or at least one hour.
  5. Preheat your oven to 200°C (180°C fan). Line a muffin tray.
  6. Spoon the batter into each case, it should fill to around half way in each. Dot the top of the muffins with blueberries, 8-10 in each depending on how you want them to taste.
  7. Bake for 20 minutes, or until golden brown.

blueberrymuffins