Nutter Butter Brownies

Well guys, it’s been a while. America was absolutely incredible, and I’ll be inundating you with photos soon enough. But for now, it’s time for what people seem to come here for, recipes. While I was away I was under strict instructions to bring back things to bake with. In particular Nutter Butters. My girlfriend originally bought some back when she went hoping I’d bake them in to something, but we kinda got drunk and ate them. Can you blame us? I mean, Nutter Butters are so damn tasty. I’d much rather have them in the UK than Oreos. But hey, I’ve got a bit of a peanut butter problem. The next decision to make was what to do with them. I mean, I’ve baked Reeses and Oreos in to pretty much everything imaginable; cakes, cookies, truffles, cupcakes. You name it, I’ve probably done it. So I had to do something different. Brownies. That’s right, Nutter Butter Brownies. Bake them in to something ridiculously rich and gooey. I decided no ordinary brownie would do. No, it had to be something decadent. Why not do something with even more peanut butter?

DSC_0573

I also decided that something this good needed layers. Three of them to be precise. Each slightly different to the last. Or at least, in how they were put together anyway.

DSC_0569

These will be made again, as long as I can get hold of Nutter Butters in England that is. Hook a brother up?

 DSC_0575

Nutter Butter Brownies
 
Prep time
Cook time
Total time
 
Ingredients
  • 225g crunchy peanut butter
  • 200g bar dark chocolate, broken into pieces
  • 280g soft light brown sugar
  • 3 medium eggs
  • 100g self-raising flour
  • 15-20 Nutter Butters
Instructions
  1. Preheat the oven to 180C/160C and line a 20cm tin with greaseproof paper.
  2. Set aside 50g of the peanut butter and 50g of the chocolate.
  3. Melt together the rest of the peanut butter and chocolate, along with the sugar. Stirring with a wooden spoon. Once the sugar has just about finished melting, turn off the heat. Mix in the eggs, one by one before finally, mixing in the flour.
  4. Spread a thin layer along the bottom of the line tin. Spread out several whole nutter butters over the layer and then cover with the remaining mixture. Break up several nutter butters and decorate this next layer with them.
  5. Melt the remaining peanut butter and chocolate, pouring them over the top of the current brownie. In addition I added a few splodges of peanut butter and topped with one final nutter butter.
  6. Bake for 30-35 minutes, until the outside layer is crisp but the center is still slightly underdone.
  7. Once removed from the oven allow to cool in the tin and divide in to squares.

DSC_0574

DSC_0571

Chocolate Chip Cookies

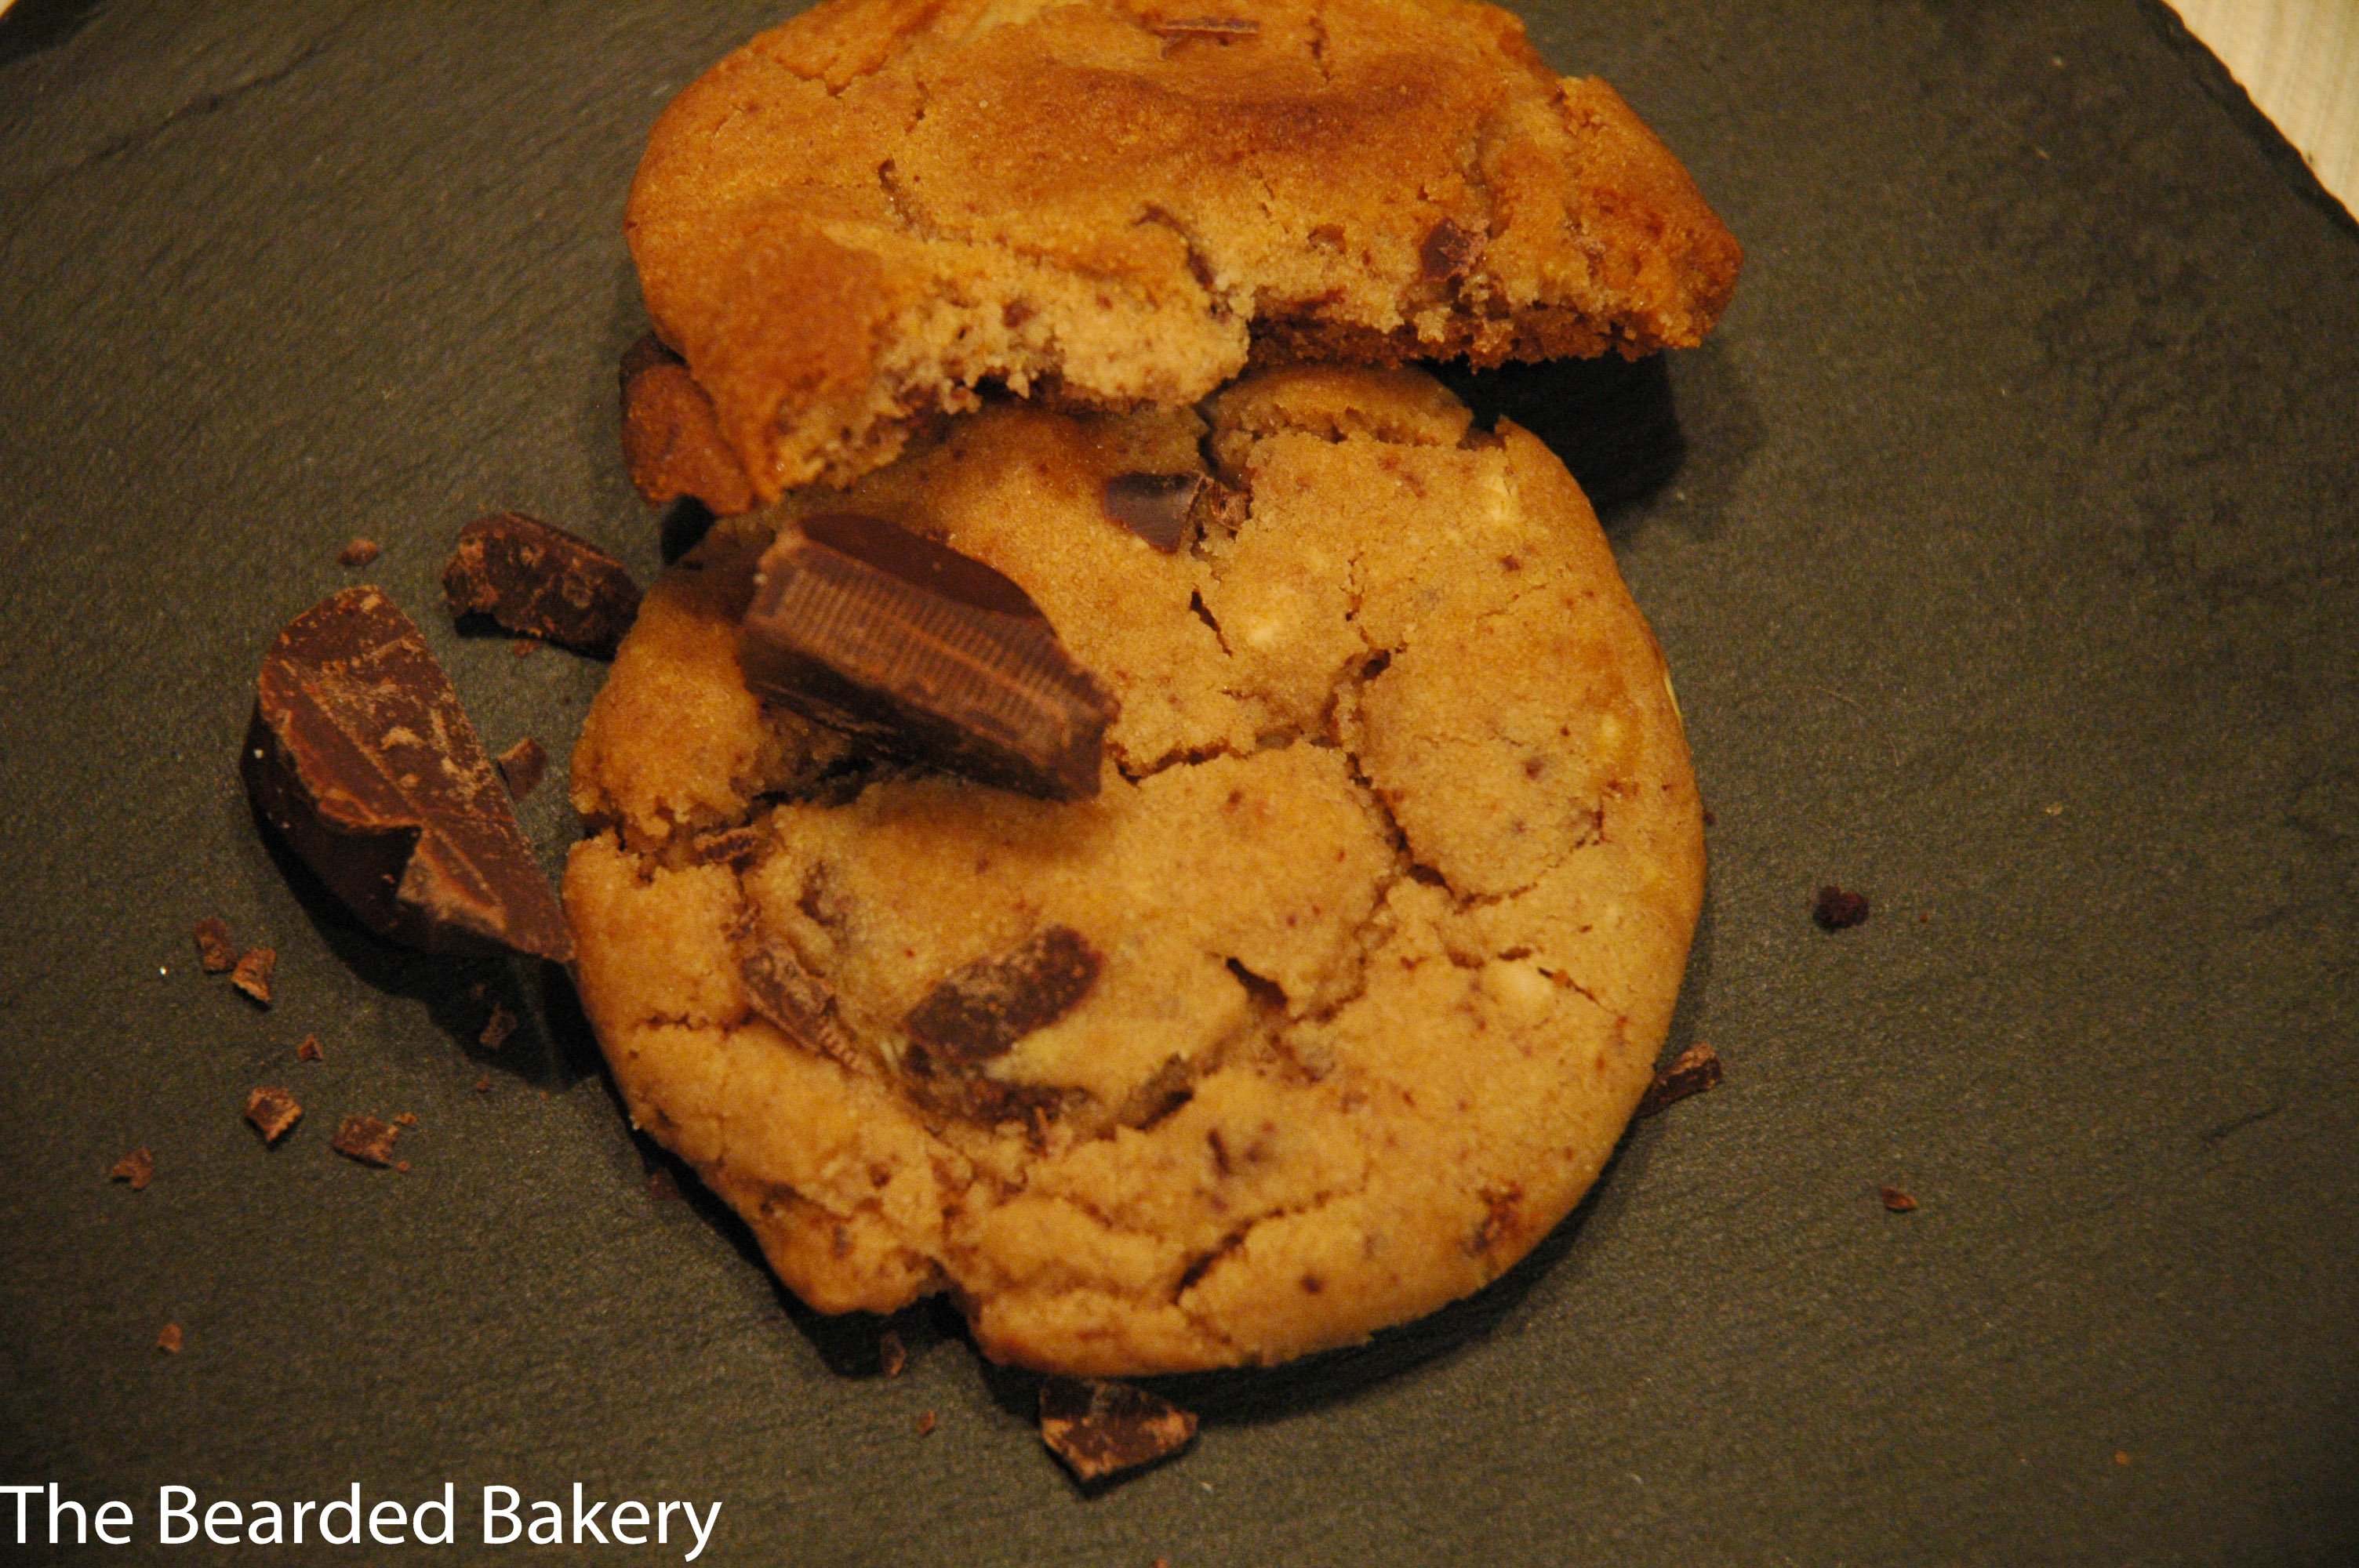
It’s national baking week. That means everyone should bake. GO. GO TO OUR OVENS. Take out your food mixers, your wooden spoons and your scales. Weigh the nation down with sugar, butter, flour and eggs. It doesn’t have to be anything hard. I decided to keep things simple this week, so that any beginners could join in. That and my card was cancelled (fraud on my account, apparently) so I had to make do with the ingredients I already had and anything I could afford with a couple of quid.

DSC_0580

I went for double choc chip cookies. Simple, quick and delicious. You’ll probably even have half the ingredients in already. The key with this is to mix it until it’s combined. Also not to press the balls of dough down like you usually would, as these’ll spread but stay chunky.

Not only this, but to celebrate National Baking week, guess who got interviewed? Topps Tiles (you know who they are, you’ve seen the vans) approached me and asked whether I’d be interested in taking part in a campaign they were running about male bakers. It was a great opportunity and I snapped their hands off. The interview can be seen here (sorry, it’s not mobile friendly).

I’d desperately wanted to do this at the start of the week, but my internet at home hasn’t been working for the last couple of weeks. Not cool. Hopefully Sky will actually be helpful at some point (they’ve failed to be so far). So I’m actually posting this from my girlfriend’s house.

 DSC_0578

5.0 from 1 reviews
Chocolate Chip Cookies
 
Prep time
Cook time
Total time
 
Serves: 12-15
Ingredients
  • 100g of caster sugar
  • 100g of butter
  • 1 tbsp of golden syrup
  • 1 tsp vanilla extract
  • 150g of self raising flour
  • 175-200g Mixed chocolate (I used dark and white), chopped.
Instructions
  1. Preheat your oven to 180°C(160°C fan). Line a baking tray with greaseproof paper.
  2. Soften the butter using your mixer, beating it until it’s well creamed.
  3. Cream together the butter and the sugar until light and fluffy (this can take several minutes).
  4. Mix in the golden syrup and the vanilla.
  5. Mix in half of the flour with the chocolate. Once this has combined mix in the rest of the flour.
  6. Keep on mixing until it starts to combine. Eventually I had to use my hands to form it into a proper dough.
  7. Separate the dough out into sizable balls. Don’t press them down. This should make 12-15 individual cookies.
  8. Place in the oven for 12-15 minutes.
  9. Remove from the oven and leave to cool on the tray for a few minutes, before transferring to a wire rack.

DSC_0577

Chocolate Brownie Cupcakes

The nights are drawing in. The last two days have been wall to wall dank and rain. It means it’s the perfect time of year to start making comfort food. Don’t get me wrong, I bloody love Autumn, when it’s crisp & clear. The leaves changing are great and you can’t beat wrapping up warm (speaking of which, I really need to try and get a new winter coat).  But it’s days like today when you just have to batten down the hatches, make yourself a brew and eat something hearty.

DSC_0537

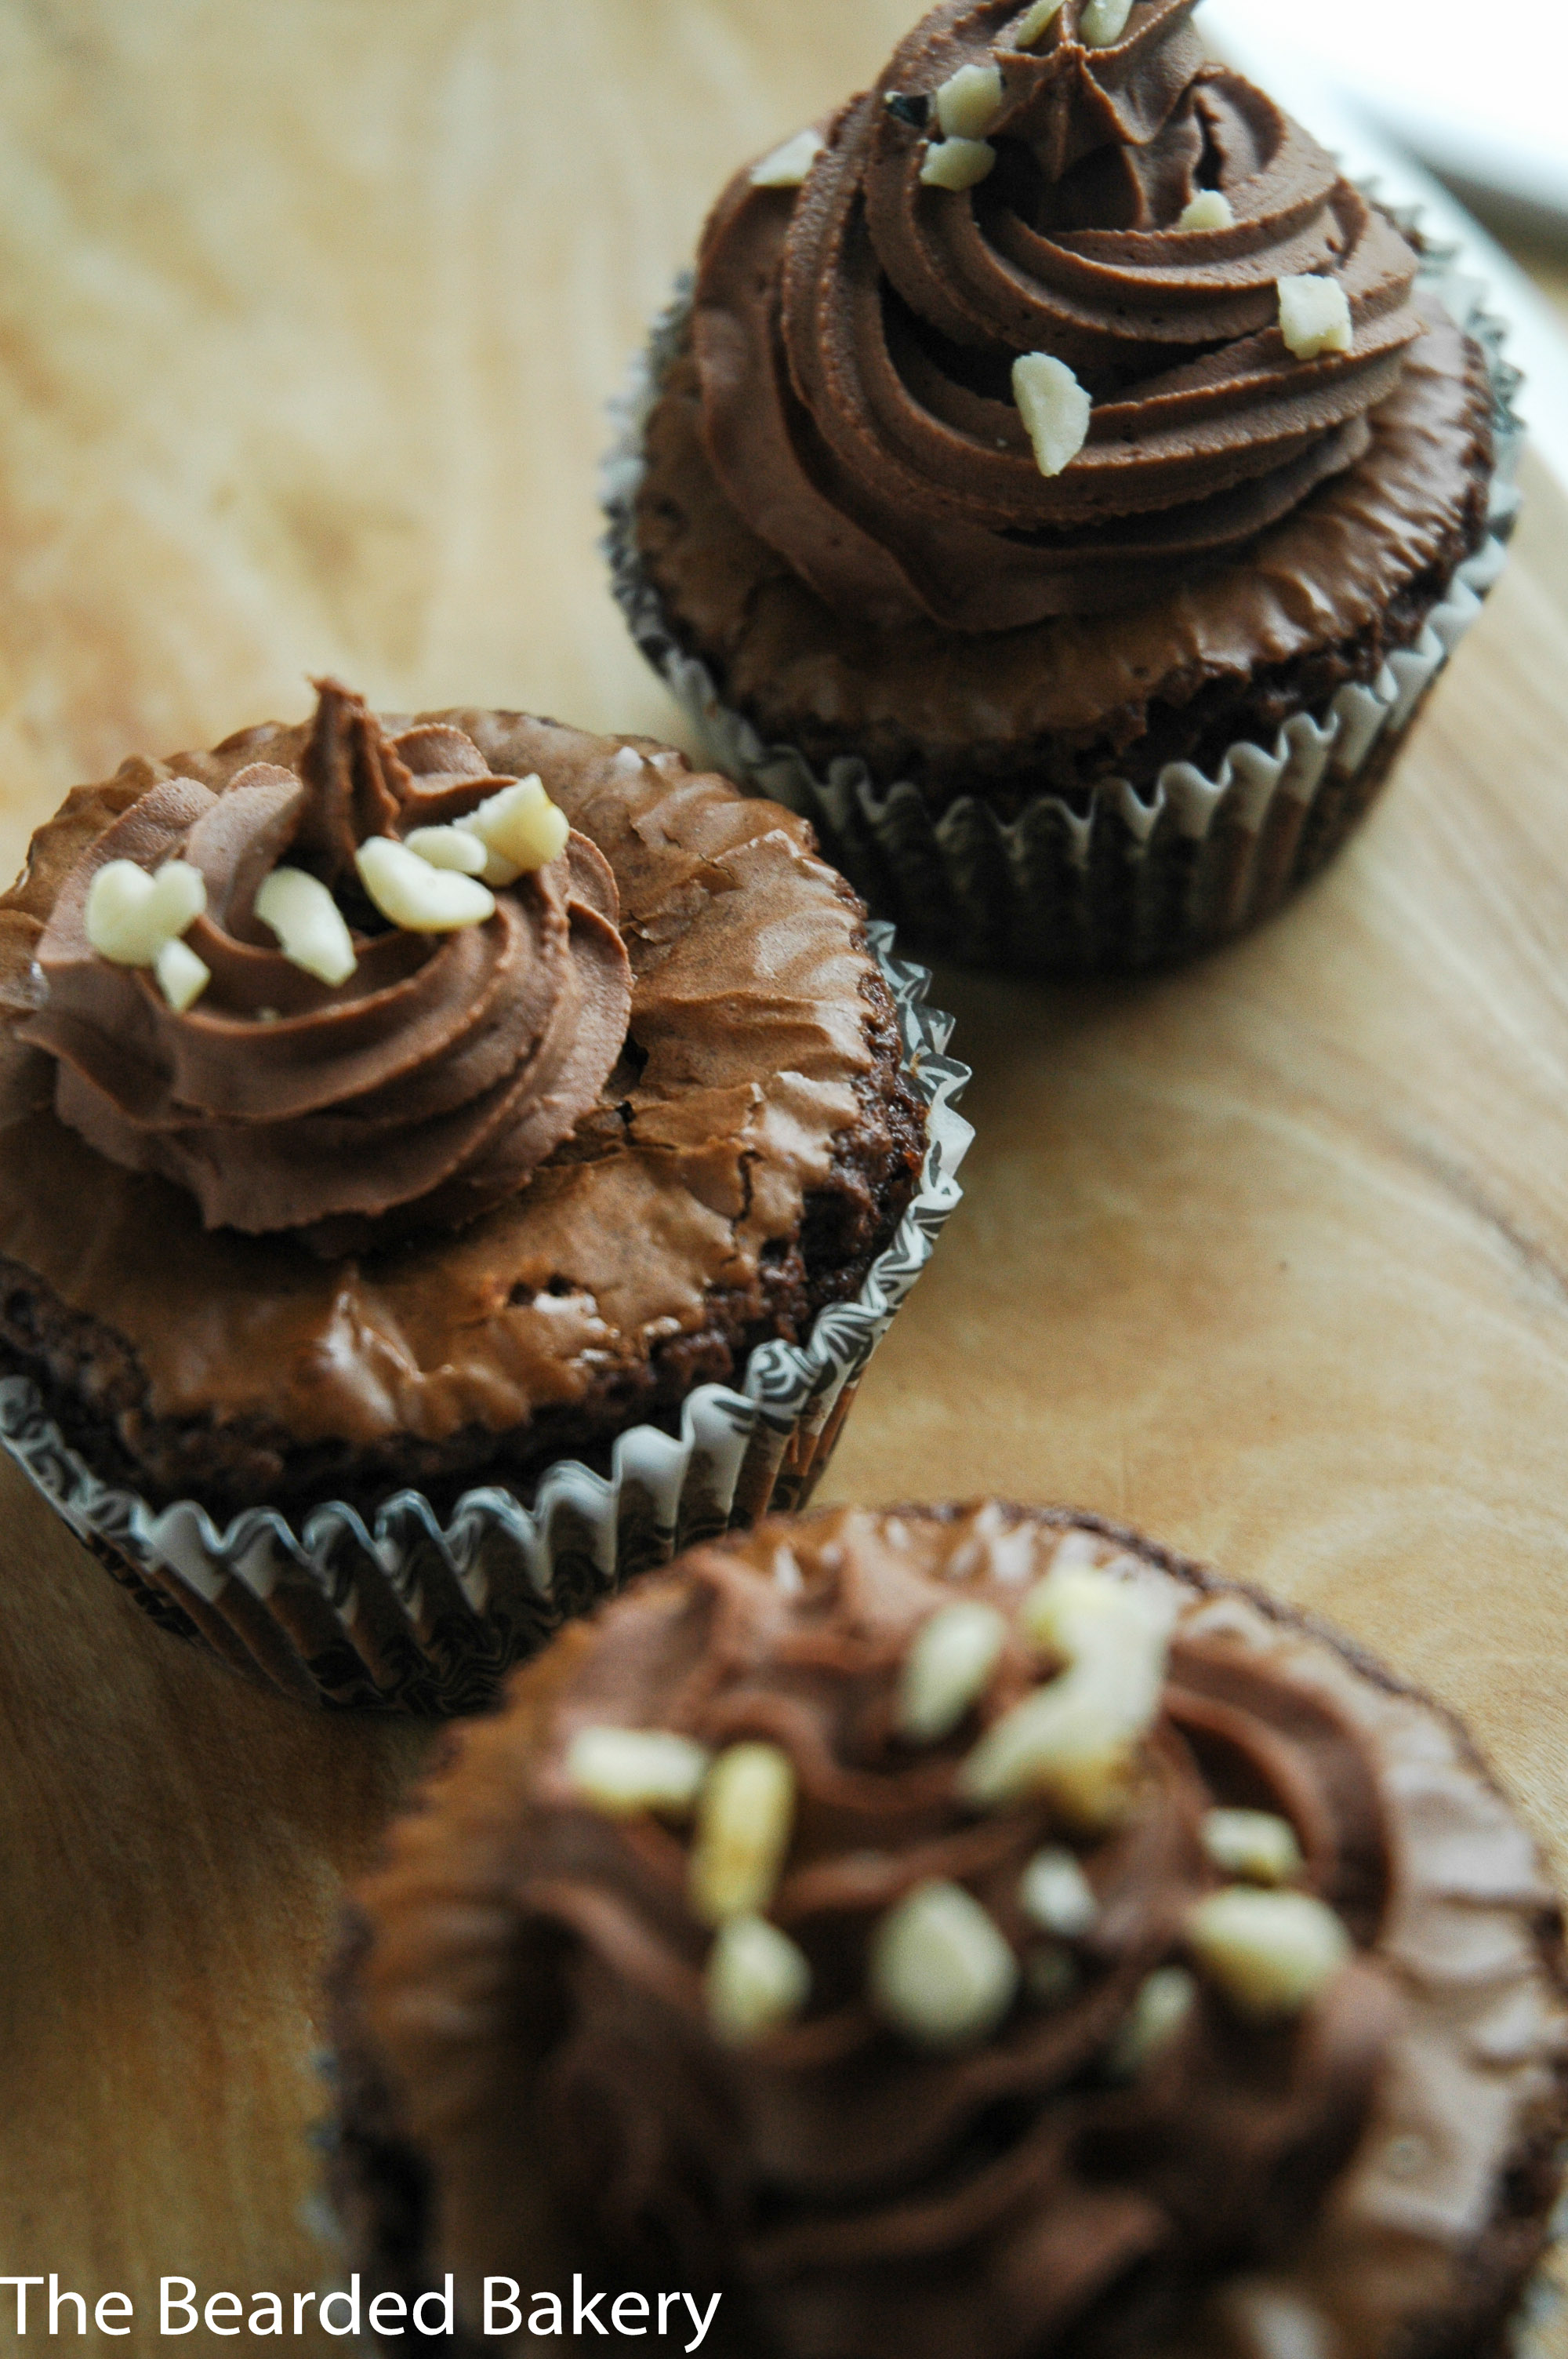
Which leads me on to brownies. I love brownies. They’re gooey, they’re sticky and rich. But (unless you’re lucky enough to have a brownie pan like I do) they tend to come in a block. How about brownie cupcakes? Small portions of heaven with a gooey center, crisp edge and cracked top? Perfect to go with your coffee.

DSC_0539

Chocolate Brownie Cupcakes
 
Prep time
Cook time
Total time
 
Serves: 12
Ingredients
  • 100g dark chocolate (I used Bournville)
  • 100g (slightly salted) butter
  • 2 medium free range eggs
  • 75g caster sugar
  • 50g light brown muscovado sugar
  • 120g plain flour
  • 20g cocoa
  • 1 teasp baking powder
  • A few drops of vanilla essence
  • Handful of chopped nuts
  • 75 grams milk chocolate, chopped.
  • For the frosting:
  • 110g butter
  • 90g baking chocolate
  • 425g icing sugar
  • ½ teaspoon vanilla extract
  • 175ml milk
Instructions
  1. Melt the butter and the chocolate together. Either use a microwave or place a bowl over boiling water. When melted allow it to cool.
  2. Preheat the oven to 180°C (160°C fan).
  3. While it is cooling, combine the eggs and both the sugars. Whisk until the mixture is considerably lighter in colour. I used my electric mixer for this and it took several minutes.
  4. Measure out the dry ingredients.
  5. Combine the egg/sugar mix with the melted chocolate mixture.
  6. Fold the dry ingredients into the wet ones. Do this gradually, through a sieve.
  7. Fold in the nuts and the chocolate.
  8. Divide up the mixture evenly in the cupcake cases in the tray.
  9. Bake for 20 minutes, the top should be glazed and shiny.
  10. Remove, allow to cool for a few minutes in the tray before transferring to a wire rack.
  11. Once they have cooled, prepare the icing. Melt the chocolate and allow to cool.
  12. Beat the butter until soft. Add in the sugar and vanilla essence.
  13. Continue to beat. Scraping down the sides when needed.
  14. Pour in the melted chocolate.
  15. Add in the milk a little at a time. Beat until it’s thicker.

DSC_0535

Nutella Stuffed Chocolate Cupcakes with Peanut Butter Frosting

What can I say? Life has well and truly gotten on top of me. It’s been several weeks since my last update, but that does not mean I haven’t been baking. I’ve just not had the time to spend to sit down and put everything together. My time has been otherwise engaged with a young lady, and I couldn’t be happier to have her taking up my time. She gets first dibs on trying everything that I bake these days though, and everything is coming up with the Kirsty seal of approval.

But enough of that, time to move on to the reason you people are here <s>my beard</s> food! First up of a run of updates will be Nutella stuffed chocolate cupcakes with Peanut Butter Cream Cheese frosting. These were a bit of an experiment to see if I could combine a couple of recipes that I’ve used in the past. They ended up being a gooey mess. One is most certainly enough but I wouldn’t let that put you off. The cupcake recipe is one I’ve used before and is here. They make very moist cupcakes which make the gooey center fairly stodgy. I’d save these for a dessert.

The key with the frosting would be to get a more expensive peanut butter, this means it’ll be less oily and will make a much better frosting. Alas, I hadn’t thought this through so ended up with a shiny and hard to use (if still tasty) frosting.

DSC_0278


Nutella Stuffed Chocolate Cupcakes with Peanut Butter Frosting
 
Prep time
Cook time
Total time
 
Ingredients
  • For the cupcakes:
  • 130g all-purpose flour
  • 200g granulated sugar
  • 65g cocoa powder
  • 1 teaspoon baking powder
  • ½ teaspoon baking soda
  • ½ teaspoon salt
  • 120 ml milk
  • 60 ml vegetable oil
  • 1 egg
  • ½ teaspoon vanilla
  • 120 boiling water
  • For the filling:
  • 170g Cream Cheese
  • 170g Nutella
  • For the frosting:
  • 200g Cream Cheese
  • 120g Peanut Butter (better quality the better)
  • 700g Icing Sugar
  • 2 Tbsp Milk or Cream
Instructions
  1. Preheat the oven to 150°C and line your cake tray with cases.
  2. Mix together the flour, sugar, cocoa powder, baking powder, baking soda and salt in a large bowl. Whisk until it’s well mixed.
  3. Combine the Nutella and Cream Cheese separately.
  4. Add the “wet” ingredients, apart from the boiling water, and mix on a medium speed until well combined.
  5. Reduce the speed and very carefully add the boiling water. Slowly up the speed until it’s on high and allow to mix for around 1 minute. This will get a good amount of air into the mix.
  6. Distribute the batter evenly into the cases. Fill to around ¾ of the case. Depending on the size of the case you’ll get between 12 and 18 cakes, but always fill to about ¾. Drop a dollop of the nutella mix into the middle of each one.
  7. Bake for 12-25 minutes. The cakes will be done when a tooth pick inserted into the center comes out clean.
  8. Remove from the oven and allow to cool slightly in the tray before transferring to a rack.
  9. While they are cooling, prepare the frosting.
  10. Beat the cream cheese until soft. Mix in the Peanut butter. Beat until well combined.
  11. Mix in the Icing sugar and finally the milk or cream. Beat until it makes a stiff frosting.
  12. Pipe onto the cakes.

DSC_0268

DSC_0271


Peanut Butter and Bourbon Cookies

What happens when you start baking and realise you’ve ran out of vanilla essence? Bourbon. Bourbon is what happens when you realise you’ve ran out of vanilla essence.  Or at least, it is in my house. I don’t mean drown your vanilla-less sorrows in a sea of bourbon, I’m not condoning becoming an alcoholic here, but the vanilla flavours present in bourbon make it perfect as a substitute in recipes where the alcohol has a chance to cook off. I was putting together some butterless and flourless cookies, i.e. I was baking simply because I had the urge to bake and hadn’t stocked up on some of the necessities, when the situation arose. I was following a recipe, which was first done by Averie Cooks, which it calls for fairly sizable amount of vanilla, meaning that a complete omission just wouldn’t be a good idea. Fortunately I had a bottle of cheap bourbon nearby and substituted the vanilla for a healthy glug of the hard stuff. Thus the Peanut Butter and Bourbon Cookies were born. The lack of butter and flour made them friendly to the vegan and gluten free friends.

peanutbutterbourbon


I’ve never had something requested to be made again so rabidly. I made them again just two days later and will undoubtedly make them again soon.

DSC_0462

Peanut Butter and Bourbon Cookies
 
Author:
Ingredients
  • Ingredients:
  • 260g Smooth peanut butter (I have done this since with “crunchy” peanut butter but preferred the result of the cheaper smooth stuff that I used first time around partly as the cheaper peanut butter spreads less.)
  • 220g light brown sugar, packed
  • 2 Medium Eggs
  • 1 tsp Bourbon Whiskey (I used a cheap brand, no sense in wasting good whiskey and the cheaper brands tend to have more flavourings in them) OR 1tsp Vanilla extract
  • 1 teaspoon baking soda
  • 150g dark, or bittersweet chocolate, chopped roughly (larger chunks are encouraged)
Instructions
  1. Instructions:
  2. Start by creaming together the peanut butter and the sugar on a medium speed. Once they have encorporated, beat in the eggs. One at a time.
  3. Add in the glug of bourbon and beat until the mixture isn’t at all granular.
  4. Beat in the baking soda. Once this is incorporated beat in the chocolate chips. This won’t need much and you don’t want to blitz the chips themselves too much.
  5. Place in the fridge for between 2 and 24 hours. You want the dough nice and chilled.
  6. Preheat the oven to 180°C (160°C fan) and line a baking sheet with greaseproof paper.
  7. Form the dough into small balls and press them (gently, you don’t want these too flat) onto the baking tray a couple of inches apart
  8. Bake for around 8-10 minutes, until the edges have cooked but the center is still gooey.
  9. Allow to cool for a few minutes on the baking tray before transferring to a wire rack.

DSC_0487

 DSC_0481